A Complete Guide to Removing Mold with Hydrogen Peroxide

Hey there! If you’ve stumbled upon this blog post, chances are you’re dealing with an unwanted guest in your home—the dreaded mold. Whether it's lingering in a damp corner or making its home on walls or ceilings, mold can be both unsightly and unsafe. Luckily, a simple solution might be right in your pantry: hydrogen peroxide. Let’s dive into how you can use this common household item to kick mold to the curb!
Understanding Mold and Its Risks
Before we jump into the cleaning process, it’s essential to understand why removing mold is important. Mold can cause various health issues, especially for those with allergies, asthma, or compromised immune systems. It can also damage your home, leading to costly repairs. If you see or smell mold, it’s time to act!
What You’ll Need
To tackle mold removal with hydrogen peroxide, you’ll need the following items:
1. 3% Hydrogen Peroxide (available at most drugstores)
2. Spray Bottle
3. Scrub Brush or Cloth
4. Protective Gear (gloves and a mask)
5. A Bucket (if needed)
6. Water (for diluting if necessary)
Step-by-Step Guide to Removing Mold
Step 1: Safety First
Mold can be harmful, so it's crucial to protect yourself. Wear gloves and a mask to prevent inhaling spores or coming into direct contact with the mold.
Step 2: Prepare Your Hydrogen Peroxide Solution
Pour the 3% hydrogen peroxide into a spray bottle for easy application. If you're dealing with particularly stubborn mold, you can also use it undiluted. For lighter mold issues, you might mix one part hydrogen peroxide with two parts water.
Step 3: Spray the Affected Area
Generously spray the moldy surface with your hydrogen peroxide solution, ensuring it's completely saturated. If you notice thick mold growth, let it soak for about 10 minutes to help break it down.
Step 4: Scrub Away the Mold
After letting the solution sit, take your scrub brush or cloth and start scrubbing the area. Most molds should easily come off with a bit of elbow grease. If some spots are resistant, don’t hesitate to reapply the hydrogen peroxide and let it sit a little longer.
Step 5: Rinse and Dry
Once you’ve removed the mold, rinse the area with clean water to remove any remnants of hydrogen peroxide and mold spores. Finally, ensure that the surface is thoroughly dried to prevent future mold growth, as moisture is mold’s best friend!
Why Choose Hydrogen Peroxide?
Using hydrogen peroxide for mold removal has several advantages. It's non-toxic, biodegradable, and won’t leave harmful residues behind, making it a safer option for your family and pets. Additionally, it’s effective against a wide range of molds.
When to Call the Professionals
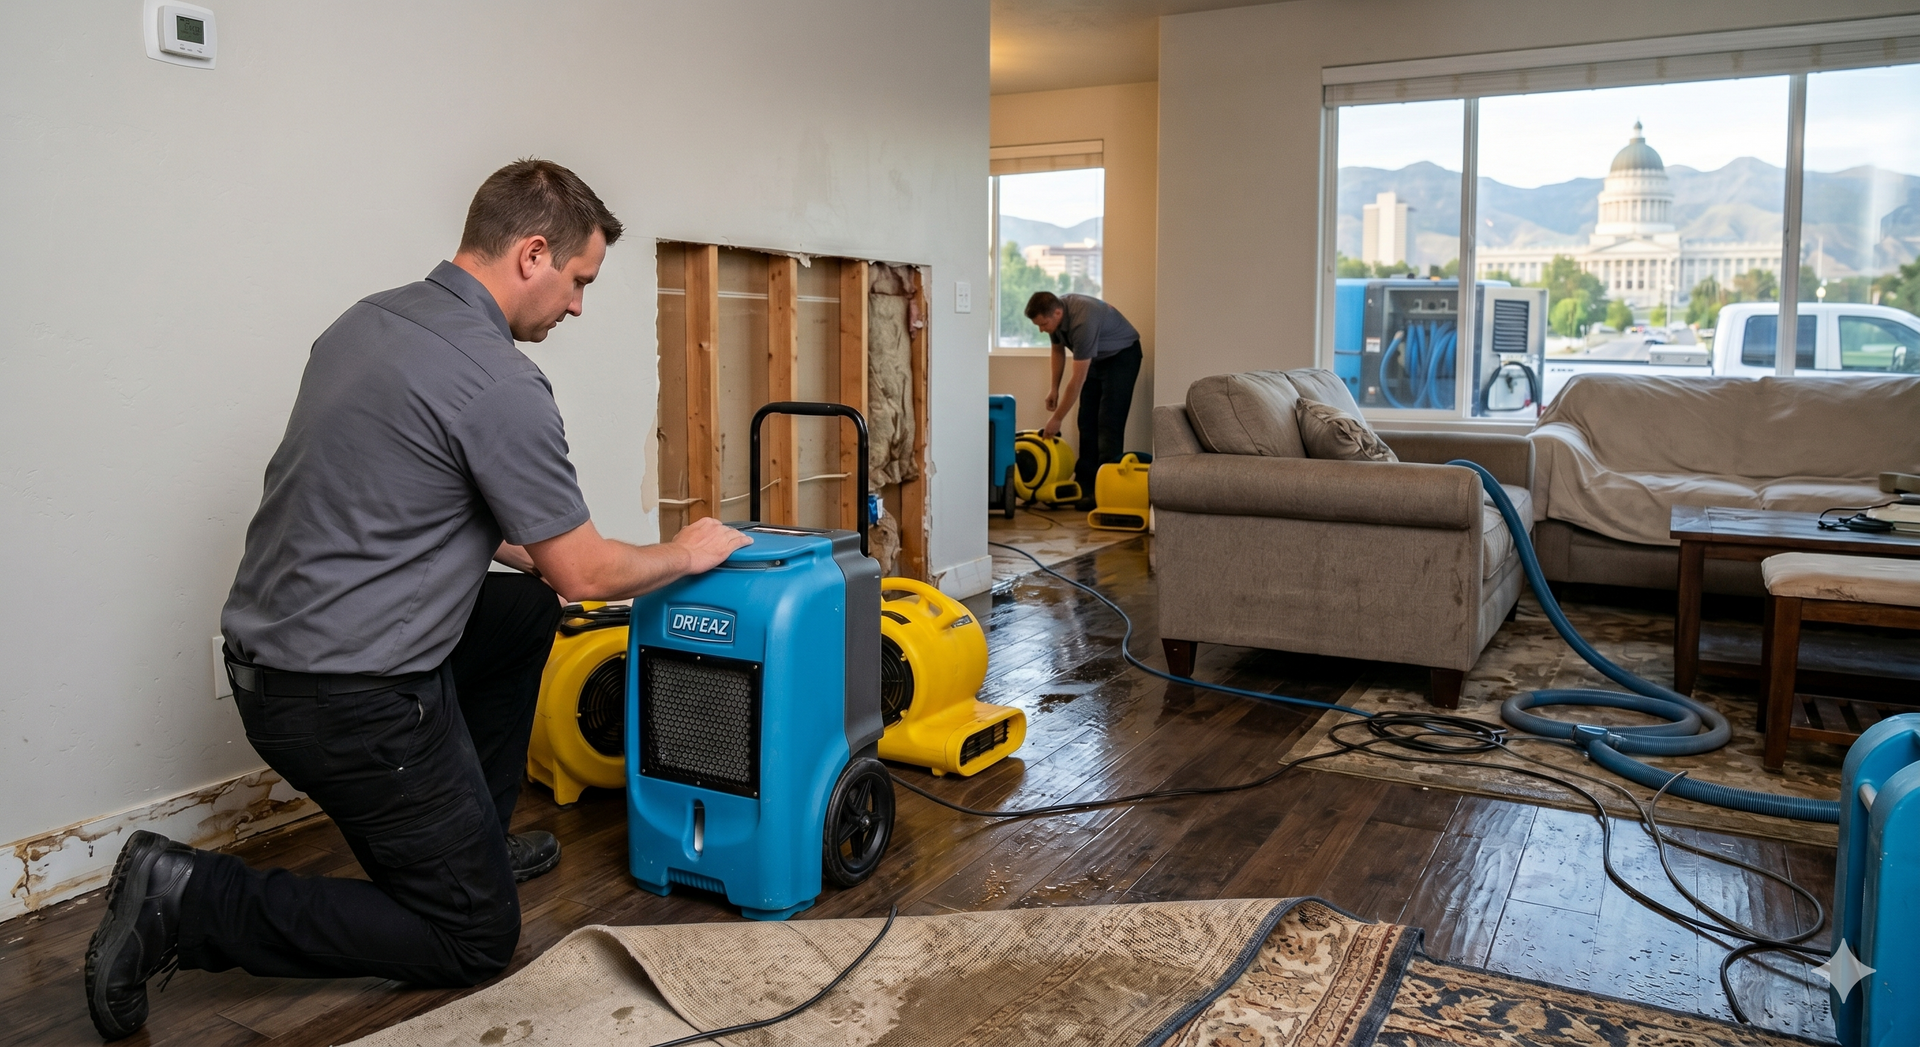
While hydrogen peroxide can be great for small mold issues, some situations require professional help. If you’re facing extensive mold growth or if the mold is in hard-to-reach places, don’t hesitate to call us at Utah Flood Guys. Our experienced team provides top-notch mold removal services for both residential and commercial properties.
Final Thoughts
Mold doesn’t stand a chance against hydrogen peroxide when used properly! With these simple steps, you can restore your space and breathe easy again. Remember, prevention is key—keep your home dry and well-ventilated to minimize the chances of mold returning. If you ever need professional assistance, we’re just a call away at Utah Flood Guys. Stay safe and mold-free!
You might also like
Utah Flood Guys Blog