How to Safely Remove Mold from Fabric: A Step-by-Step Guide
When water damage strikes, one of the most frustrating issues that can arise is the presence of mold, especially on your fabric items. Whether it’s your favorite couch, curtains, or clothing, mold can quickly turn a beloved piece into a potential health hazard. Here at Utah Flood Guys, we understand the importance of preserving your belongings after a disaster. So, let’s dive into a step-by-step guide on how to safely remove mold from fabric.
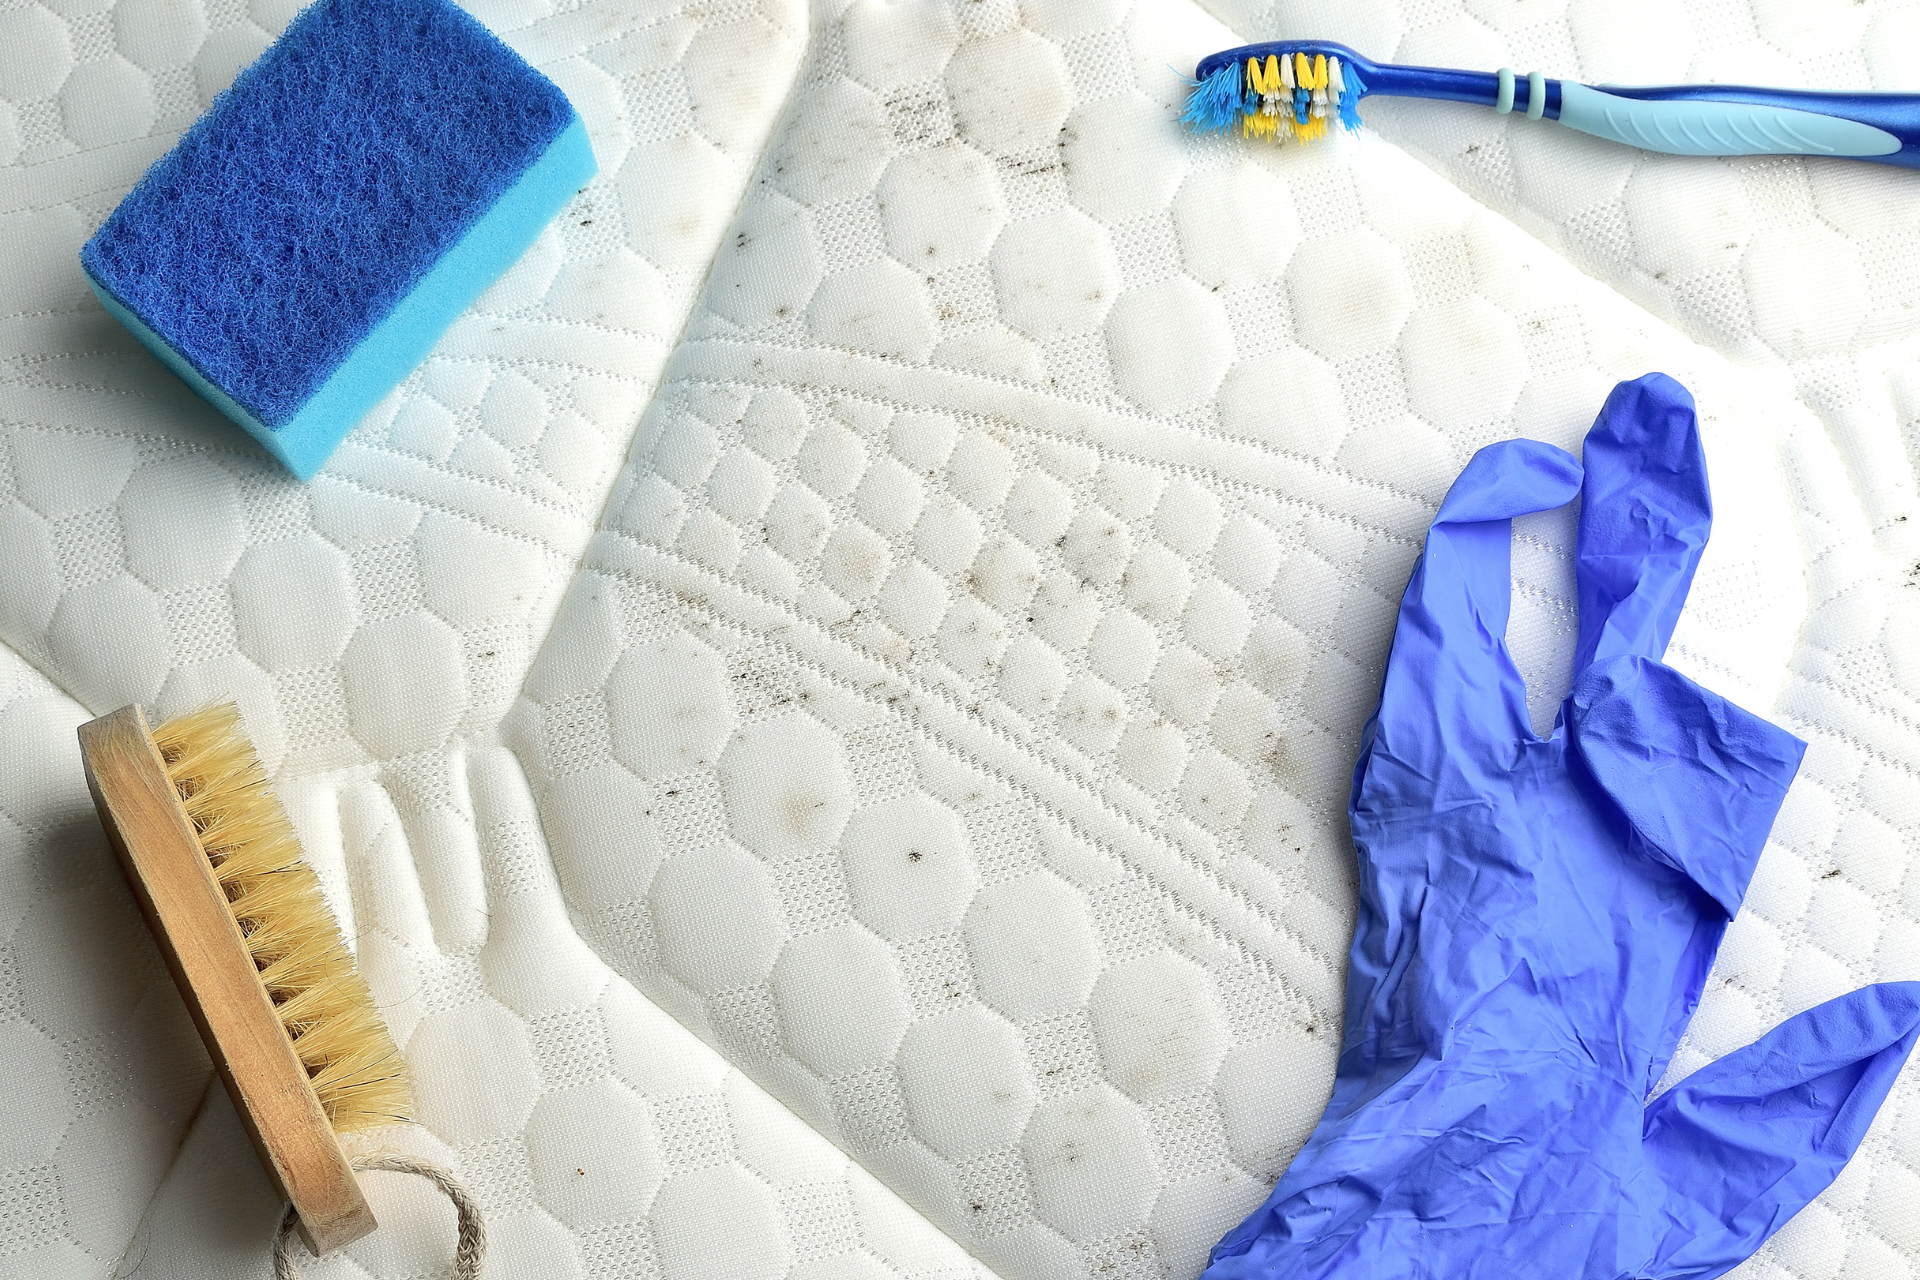
Step 1: Gather Your Supplies
Before you get started, it’s essential to gather all the necessary supplies. You’ll need:
- Protective gear (gloves, mask, goggles)
- Soft-bristle brush
- Mild detergent
- White vinegar or a store-bought mold remover
- Spray bottle
- Clean water
- Sunlight (if possible)
Having everything ready will make the process smoother and safer.
Step 2: Take Precautions
Mold can be harmful to your health, so it’s crucial to take proper precautions before you begin. Make sure you’re wearing gloves, a mask, and goggles to protect yourself from mold spores. If the fabric item is sizeable and removable, consider working outside to minimize mold spore exposure inside your home.
Step 3: Brush Off Loose Mold
Using a soft-bristle brush, gently brush off any loose mold from the fabric. Be careful not to scrub too hard, as this can push the mold deeper into the fibers. Make sure to brush outside, if possible, to prevent the mold spores from spreading indoors. Don’t forget to dispose of your brush or clean it thoroughly afterward to avoid cross-contamination.
Step 4: Prepare a Cleaning Solution
In a spray bottle, mix equal parts of mild detergent and water. Alternatively, using white vinegar can be effective as it’s a natural mold killer. If you opt for a store-bought mold remover, follow the instructions on the label.
Step 5: Spot Test
Before applying the cleaning solution to the entire fabric, it’s a wise idea to conduct a spot test in an inconspicuous area. This ensures that the fabric won’t be damaged or discolored by the solution. Wait for a few minutes after applying the solution and check for any adverse reactions.
Step 6: Apply the Solution
Once you’ve confirmed it's safe, spray the cleaning solution generously onto the affected areas of the fabric. Allow the solution to sit for about 10 to 15 minutes. This step is crucial, as it lets the solution penetrate the mold and break it down.
Step 7: Clean and Rinse
After the solution has sat, gently blot the affected area with a clean, damp cloth to lift the mold and dirt away. Make sure to rinse the cloth frequently to ensure you’re not redistributing mold spores. Once you’re satisfied with the cleaning, lightly rinse the fabric with clean water to remove any remaining detergent or vinegar.
Step 8: Dry Completely
Finally, allow the fabric to dry completely. If possible, hang it outside in direct sunlight, as UV rays are natural mold deterrents. If outdoor drying isn’t an option, use fans to circulate air and reduce moisture.
Conclusion
Removing mold from fabric can be a challenging yet manageable task. By following this step-by-step guide, you can effectively clean your materials while ensuring your safety. If mold persists or if you’re dealing with significant water damage, don’t hesitate to reach out to Utah Flood Guys. We’re here to help with professional mold removal and restoration services—so you can get back to enjoying your space without worry!
You might also like
Utah Flood Guys Blog