How to Remove Mold: Proven Techniques
Greetings from Utah Flood Guys! If you’re reading this, chances are you've discovered an unwelcome guest in your home: mold. Whether it’s caused by a recent leak or long-standing moisture, mold can be a serious issue for your health and property. But fear not! We’re here to guide you through the proven techniques for mold removal that will get your space back to being safe and mold-free.
Understanding Mold
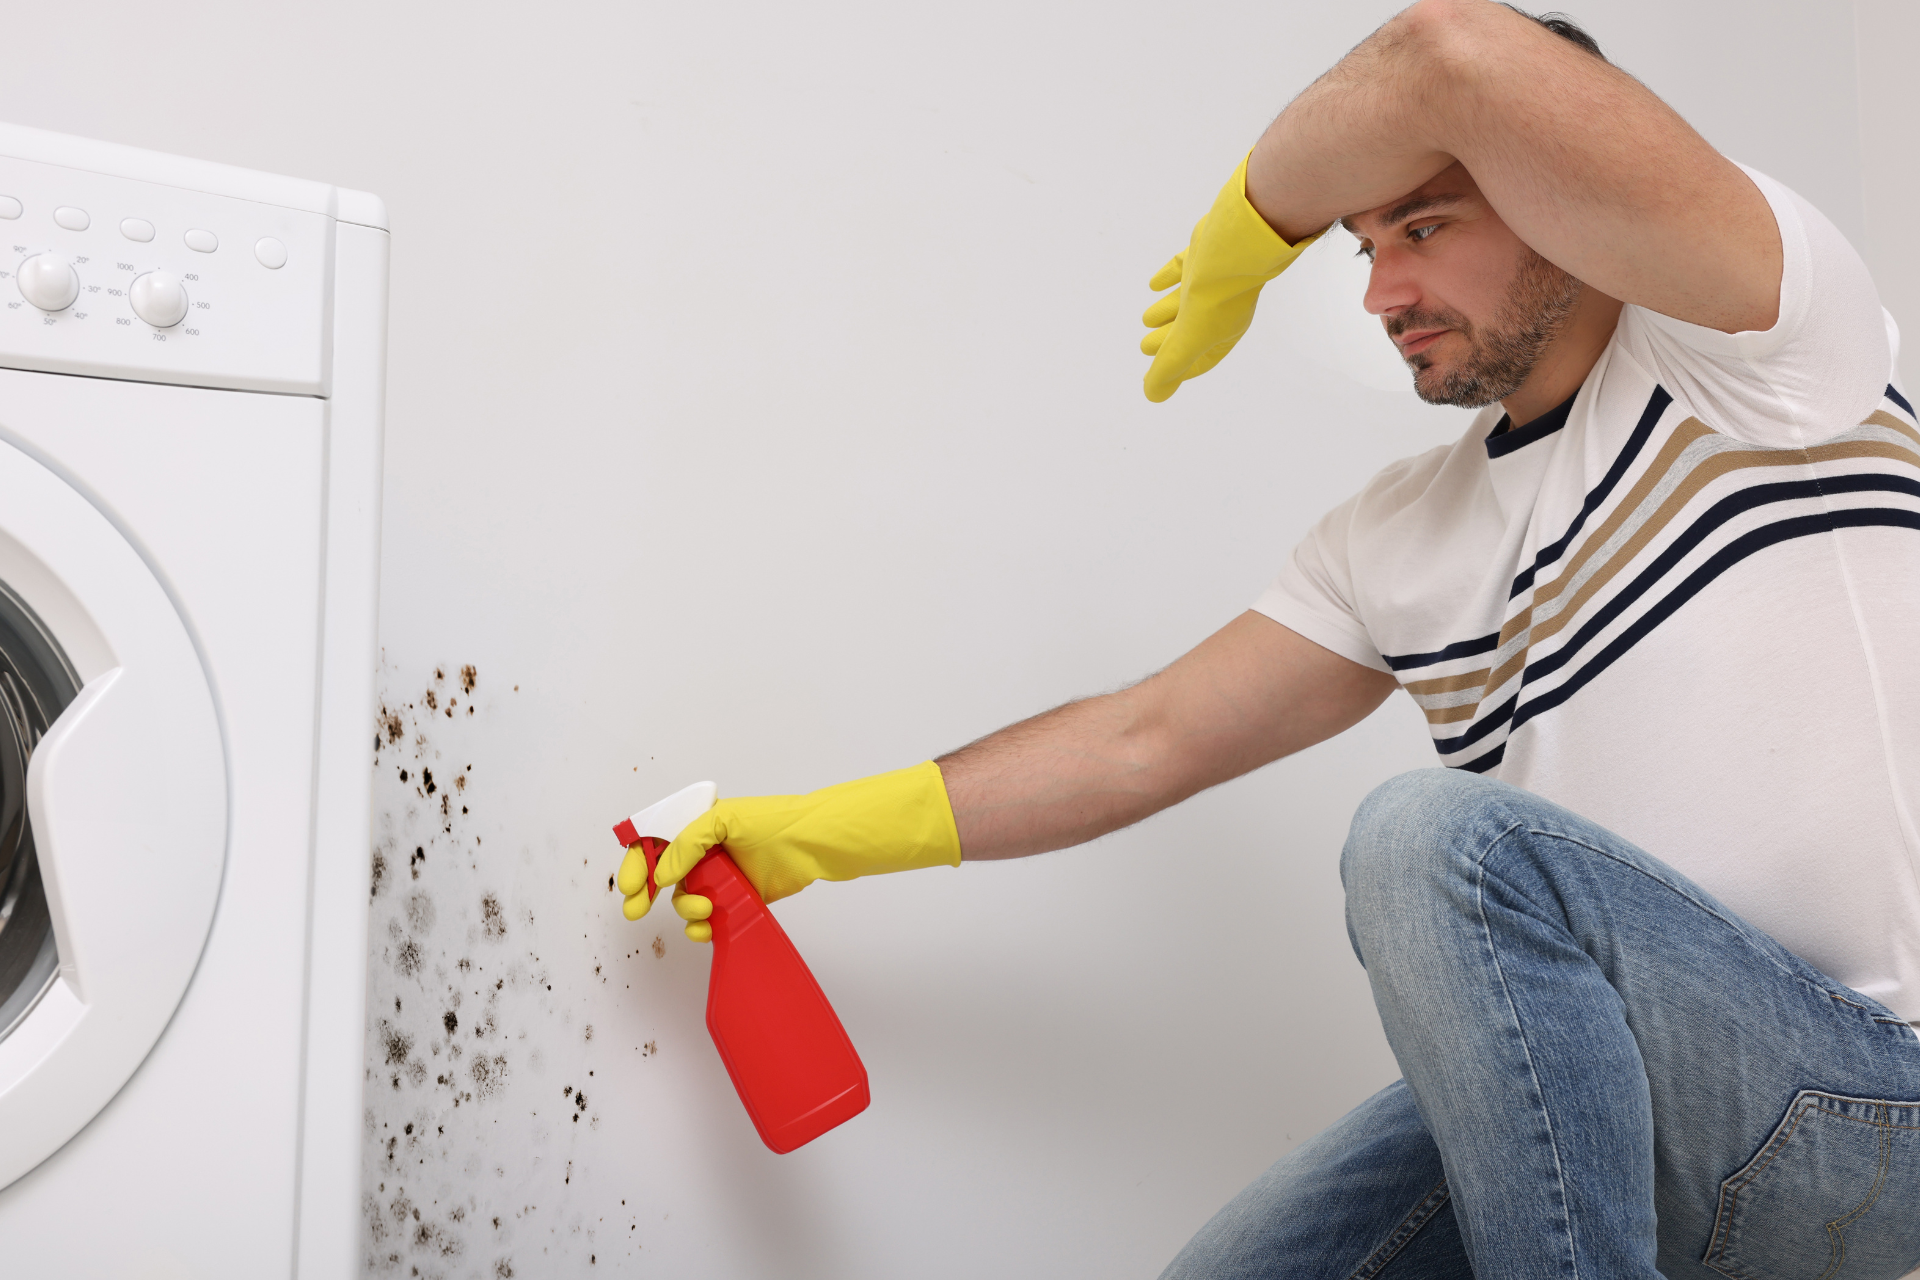
Before diving straight into removal techniques, it’s essential to understand what mold is. Mold is a type of fungus that thrives in damp environments and can spread quickly if not addressed. It can be not only unsightly but can also cause health issues such as allergic reactions and respiratory problems. So, if you find any signs of mold—be it a little black patch in your bathroom or a fuzzy growth in your basement—take action immediately.
Safety First
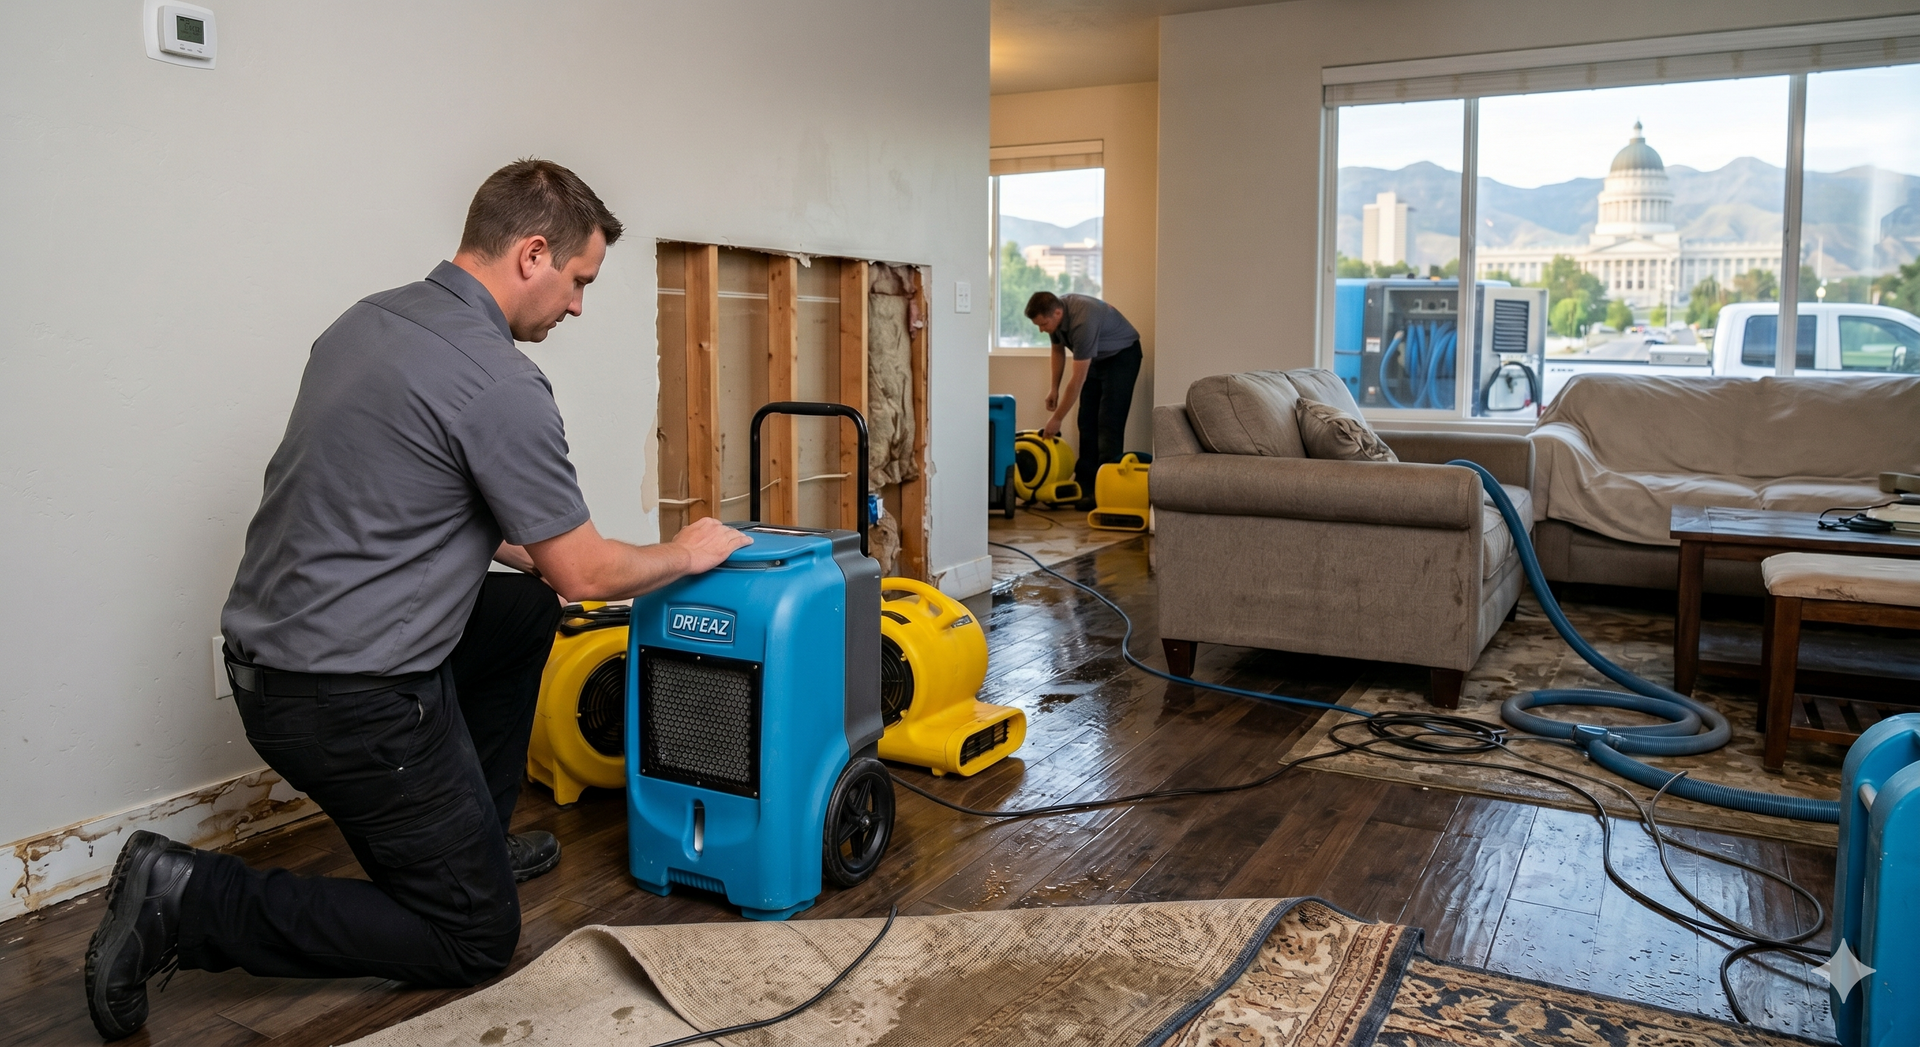
Before you start, remember to prioritize safety. Wear an N95 respirator mask, gloves, and goggles to protect yourself from mold spores. Open windows to ensure proper ventilation. If the area affected is substantial, or if you have health concerns, it’s best to consult with the professionals at Utah Flood Guys. We have the tools and expertise to handle large infestations effectively.
Gather the Right Supplies
You don’t need fancy products to remove mold successfully. Here’s a quick list of supplies you might need:
- Soap and water
- White vinegar
- Hydrogen peroxide
- Baking soda
- A spray bottle
- Rags or scrub brushes
Proven Techniques for Mold Removal
1. Soap and Water
For small patches of mold, start with a simple solution of soap and water. Scrub the affected area with a mixture of this and wipe it clean. This method is particularly effective on hard surfaces.
2. White Vinegar
Vinegar is a natural antifungal. Using undiluted white vinegar, spray it on the moldy area and let it sit for at least an hour. After the wait, wipe it down with a clean rag. You’ll be amazed at how effective this common kitchen staple is!
3. Hydrogen Peroxide
If vinegar doesn’t do the trick, try hydrogen peroxide. Mix it with water in a spray bottle (one part hydrogen peroxide to two parts water), and spray it on the affected area. Let it sit for ten minutes, then scrub and wipe it clean. This method is particularly effective for porous materials.
4. Baking Soda
For those persistent mold spots, baking soda adds an additional scrubbing power. Mix a tablespoon of baking soda with a cup of water in a spray bottle, and let it sit for a few minutes after spraying. Scrub and rinse afterwards to reveal a cleaner surface.
When to Seek Professional Help
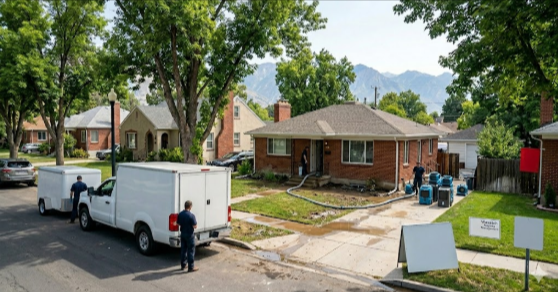
While many mold issues can be handled with DIY methods, remember that extensive infestations or mold in hidden areas like walls or underneath flooring require professional intervention. The last thing you want is mold to spread further while you’re trying to remove it! If you suspect a large infestation or if health issues arise, reach out to the experts at Utah Flood Guys.
Conclusion
Mold removal doesn’t have to be a daunting task. By following these proven techniques, you can address small mold issues effectively. Always prioritize safety, and don’t hesitate to consult experts when the situation calls for it. At Utah Flood Guys, we’re ready to assist you in restoring your space back to its original state—mold-free! Until next time, stay safe and dry!
You might also like
Utah Flood Guys Blog