Banish Shower Mold: Your Complete Guide
Hello and welcome to the Utah Flood Guys blog! If you've ever stepped into your shower and felt a wave of dread wash over you at the sight of mold creeping up the walls, you’re not alone. Mold thrives in damp environments like bathrooms, making the shower a prime target for this unwelcome guest. But fear not! Today, we’re here to help you banish that pesky shower mold once and for all.
Why Mold Loves Your Shower
First, let’s understand why your shower is a mold magnet. Mold spores are always present in the air; they just need moisture and a food source (like soap scum and organic material) to grow. High humidity levels, poor ventilation, and neglecting regular cleaning can all create the perfect storm for mold growth in your bathroom.
Step 1: Gather Your Supplies
Before diving into the cleanup, gather your supplies. You’ll need:
- A scrub brush or sponge
- Spray bottles
- White vinegar
- Baking soda
- Dish soap
- Gloves
- A mask (if you’re sensitive)
Step 2: Prepare Your Space
Ensure proper ventilation while you work. Open bathroom windows, turn on the exhaust fan, and wear gloves and a mask to protect yourself from spores. If the mold is extensive, consider leaving the area and calling a professional mold removal service, like us at Utah Flood Guys.
Step 3: Create a Cleaning Solution
One of the most effective ways to tackle mold is by using white vinegar. Fill a spray bottle with undiluted white vinegar and spray it generously on the affected surfaces. Let it sit for at least an hour to penetrate and break down the mold. If you prefer a more powerful solution, mix baking soda with a few drops of dish soap and water to create a paste.
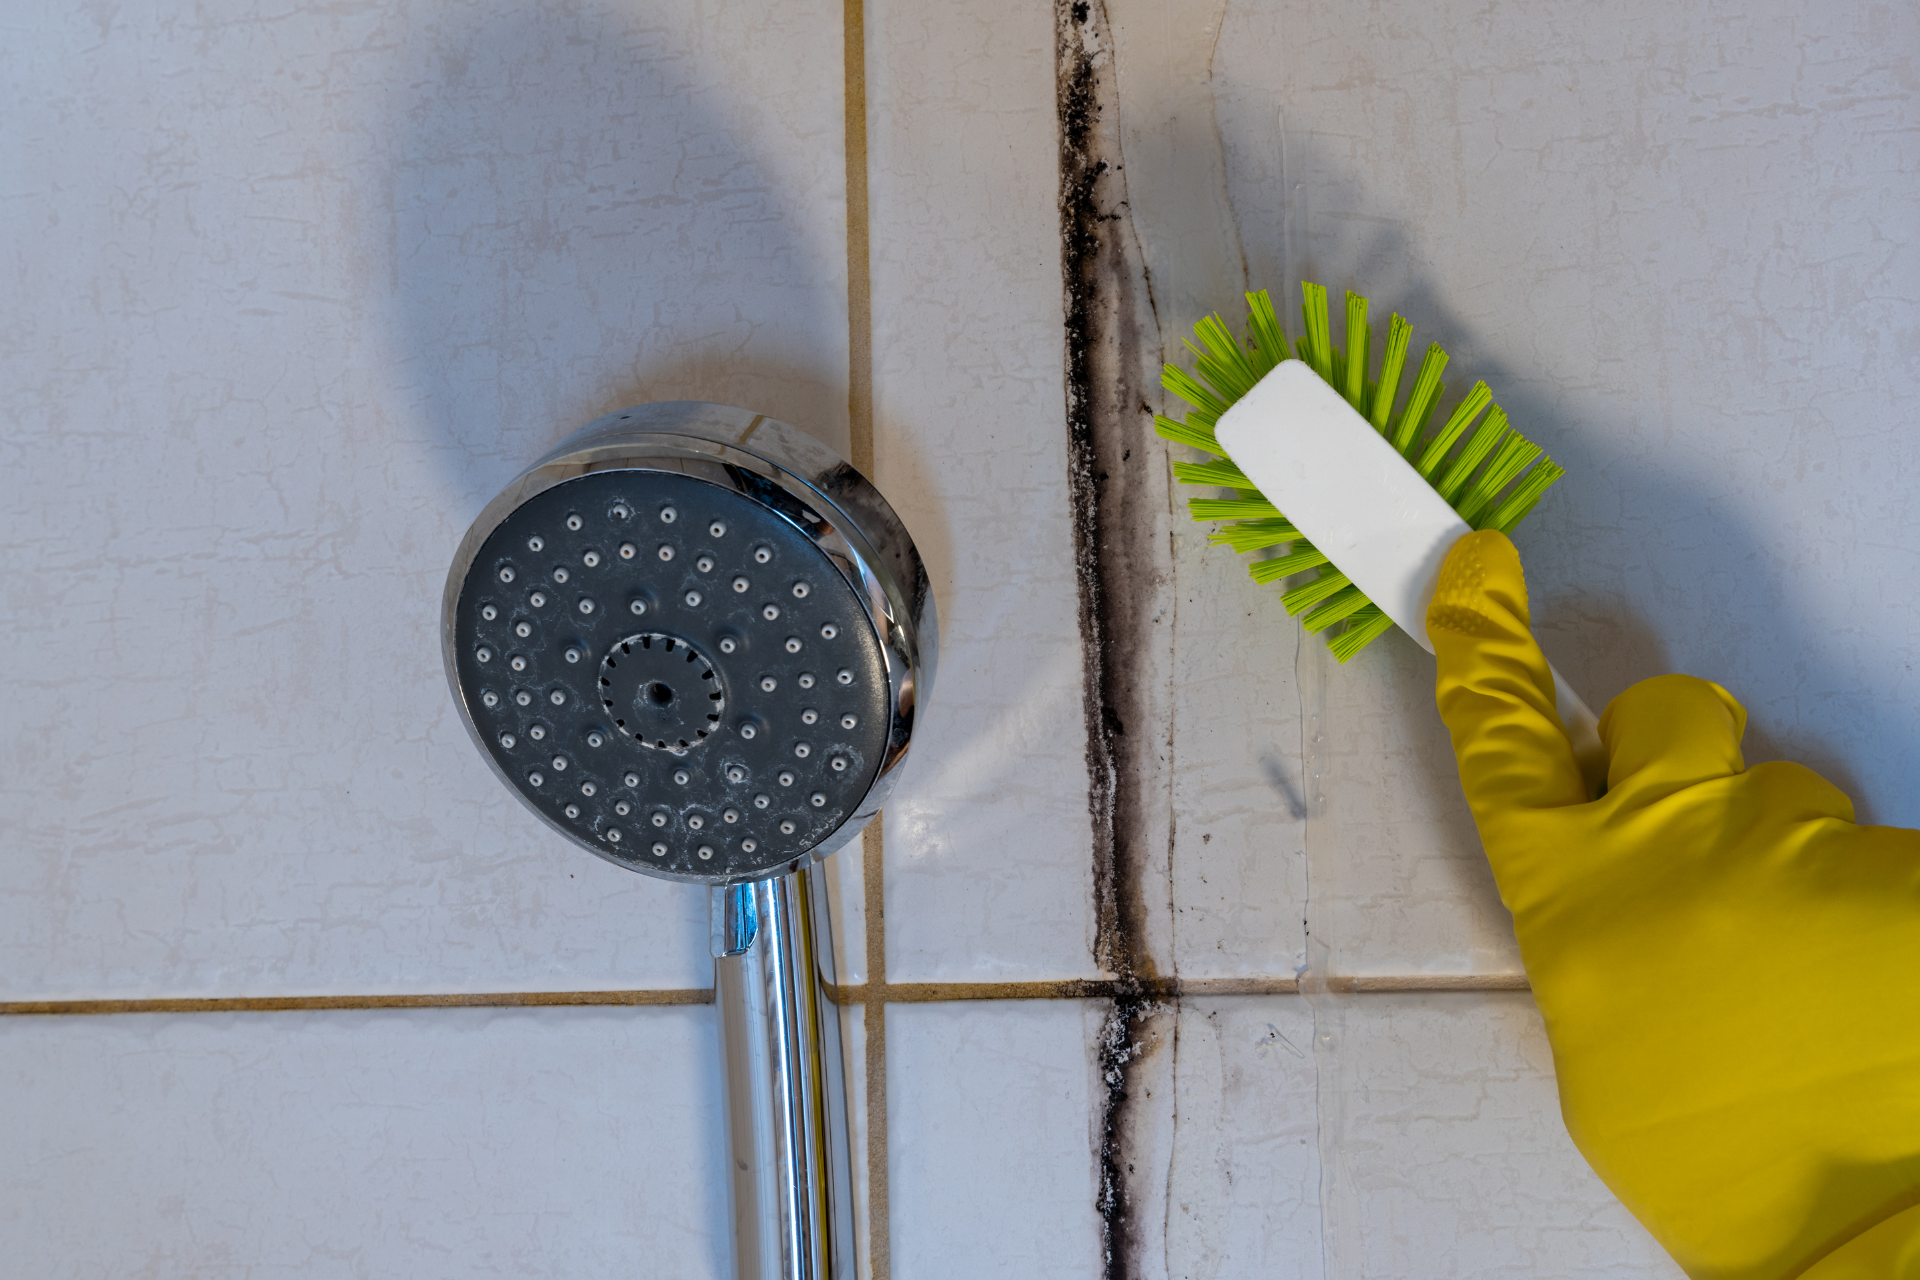
Step 4: Scrub Away
After letting your solution sit, it’s time to scrub. Use your brush or sponge to scrub the moldy areas thoroughly. Pay special attention to grout lines and corners where mold tends to hide. Rinse the surfaces with warm water, and don’t forget to wipe down the shower curtain or door, as these areas can harbor mold as well.
Step 5: Dry and Prevent
Once your shower is clean, the next step is to keep it that way. Mold loves moisture, so here are some tips for prevention:
- Ventilation
Use an exhaust fan while showering and keep the bathroom well-ventilated. Leave the door open if possible.
- Squeegee
After each shower, use a squeegee to remove excess water from walls and tiles.
- Regular Cleaning
Incorporate a routine cleaning schedule to keep mold at bay. A bi-weekly cleaning will help maintain a mold-free environment.
When to Call the Pros
If your mold problem is extensive—meaning it covers a large area (more than 10 square feet) or has penetrated walls—the safest option is to call in the experts. At Utah Flood Guys, we specialize in residential and commercial mold removal and can handle even the most challenging situations.
Final Thoughts
Banish shower mold and reclaim your sparkling clean sanctuary! With the right strategies, you can prevent mold from becoming a recurring problem in your bathroom. But remember, if you’re ever in doubt, don’t hesitate to reach out to us at Utah Flood Guys. We’re here to help with all your water damage, mold removal, and fire damage restoration needs in Utah. Keep your home safe and mold-free!
You might also like
Utah Flood Guys Blog