How to Properly Dry Out Your Home After Water Damage
Hey there, folks! If you're reading this, chances are you've recently experienced water damage in your home. Whether it's from a burst pipe, a leaky roof, or a flood, dealing with water damage can be a stressful situation. But fear not, because the Utah Flood Guys are here to help you navigate the process of properly drying out your home post-water damage.
First things first, the key to successful water damage restoration is a thorough and efficient drying process. Removing excess water and moisture from your home is crucial to prevent further damage, mold growth, and potential health hazards. So, grab a cup of coffee, sit back, and let us guide you through the steps to properly dry out your home after water damage.
Step 1: Safety First
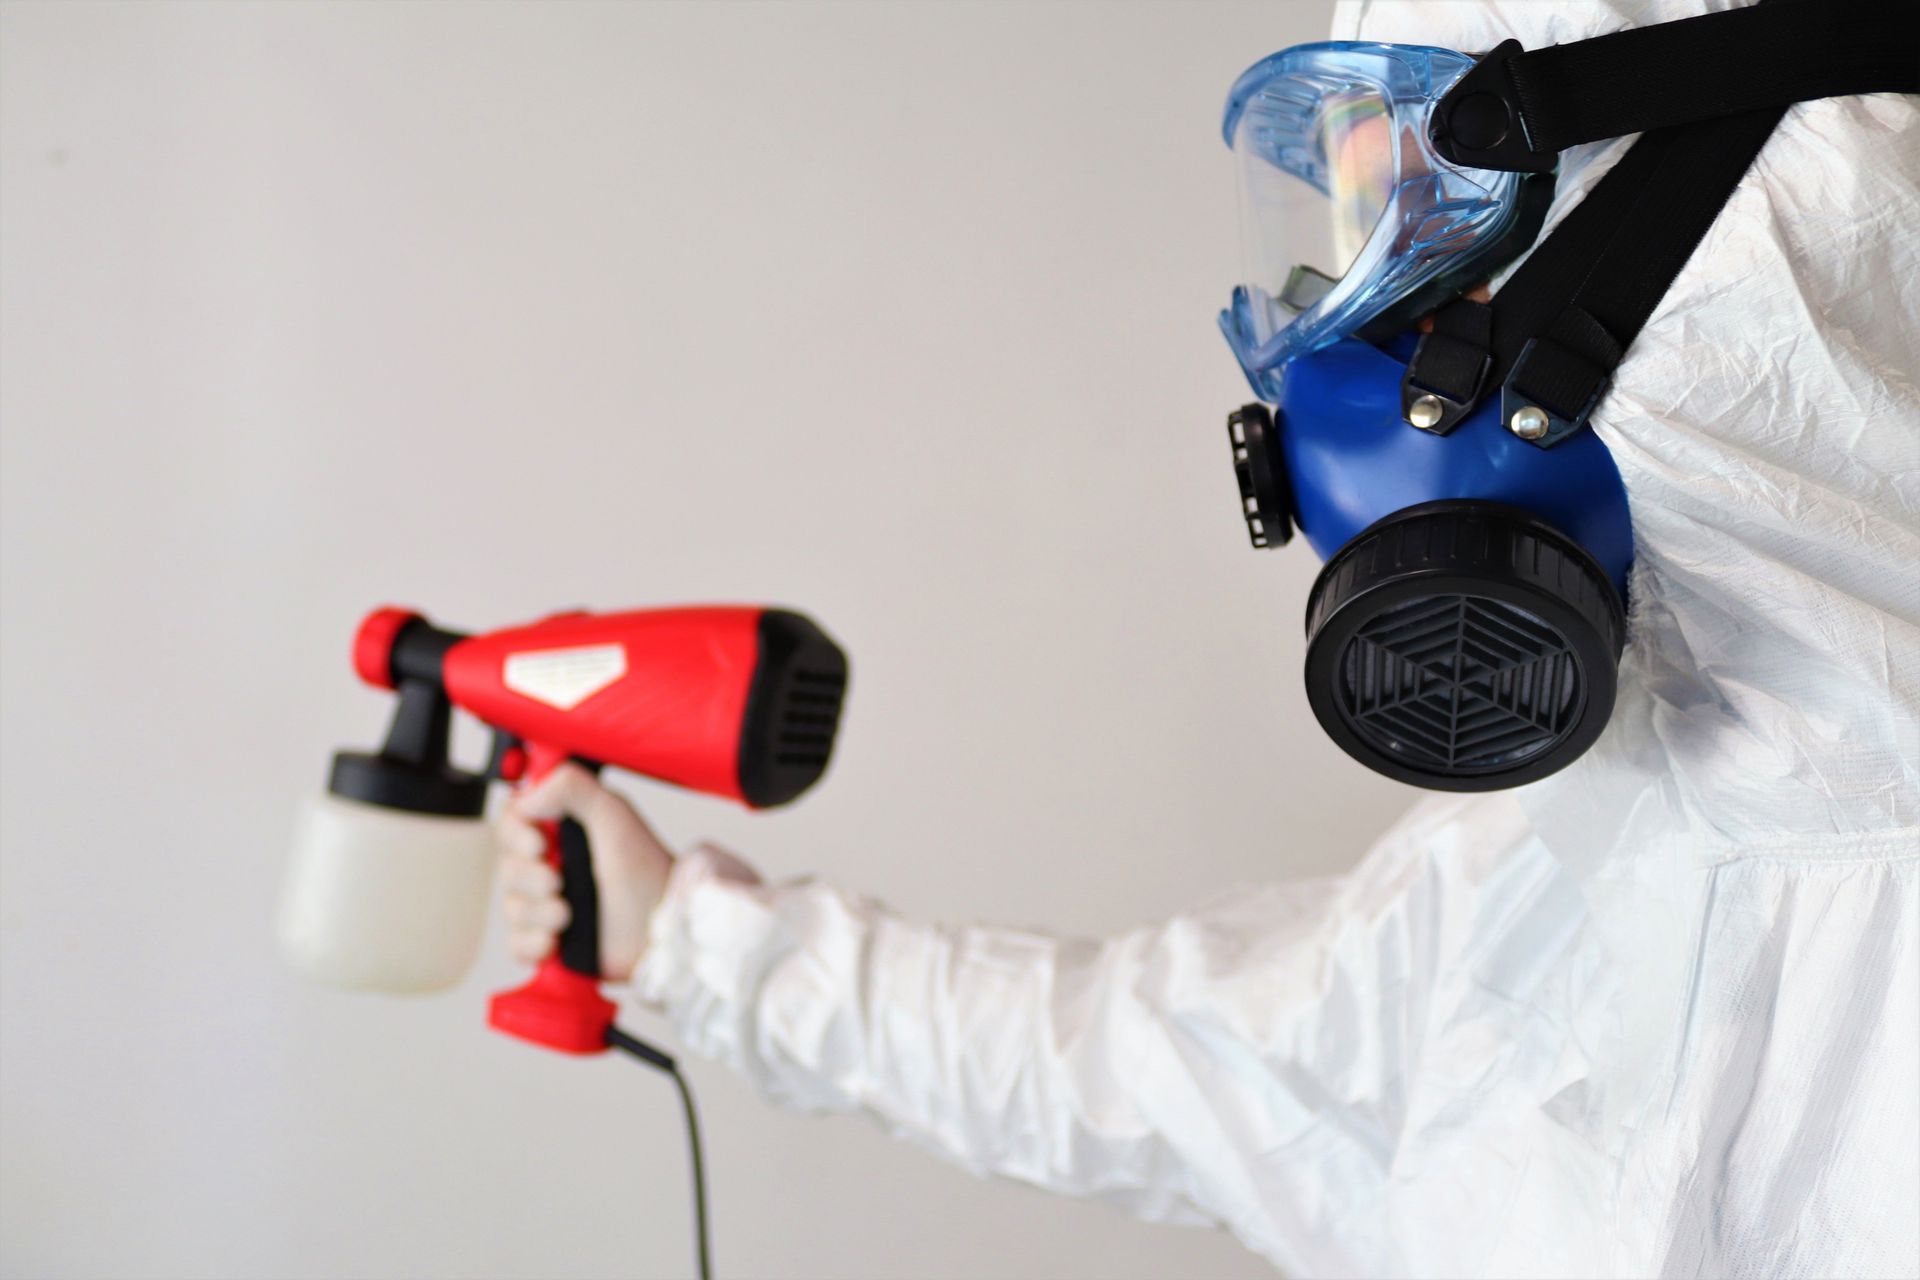
Before you start any water damage restoration process, make sure to prioritize your safety. Turn off the electricity to the affected areas to avoid any potential hazards. Wear protective gear such as gloves, goggles, and a face mask to protect yourself from contaminants present in the water.
Step 2: Remove Standing Water
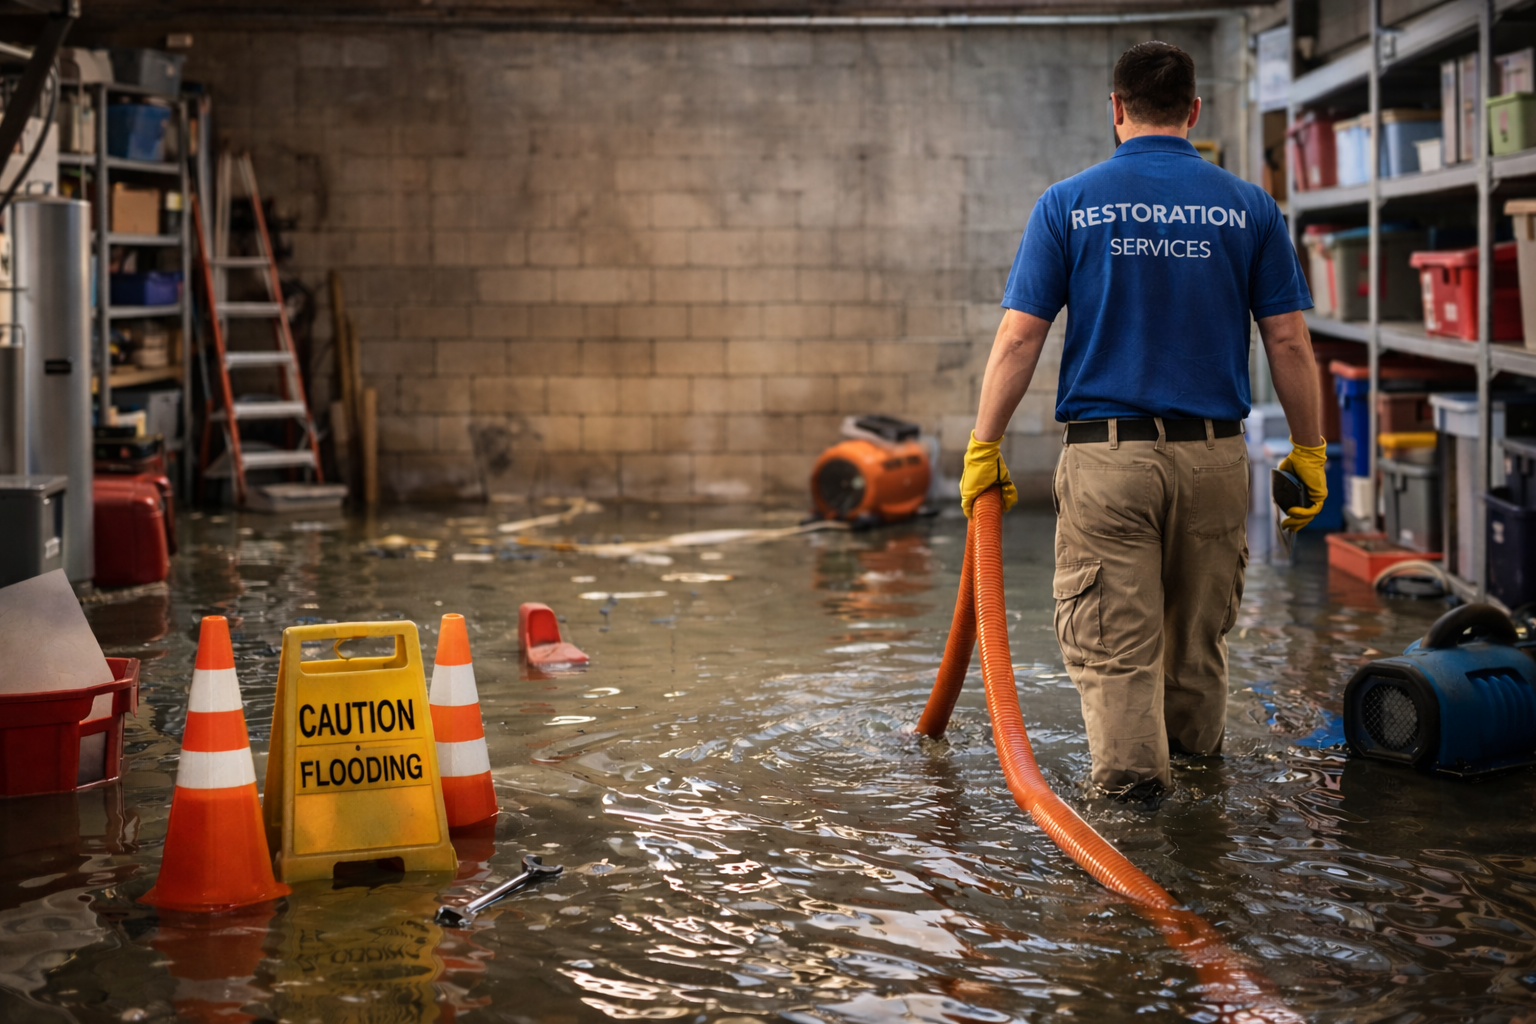
The first step in drying out your home is to remove any standing water. Use a wet/dry vacuum, mop, or towels to soak up as much water as possible. Don't forget to check hidden areas like under furniture, carpets, and inside cabinets for pooling water.
Step 3: Dry Out the Area
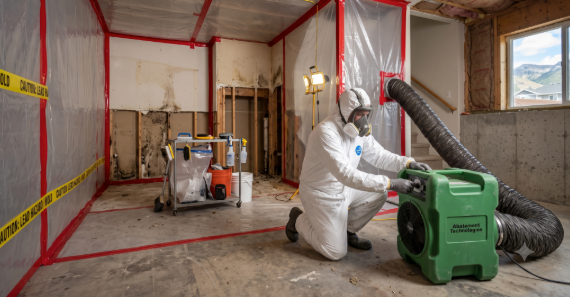
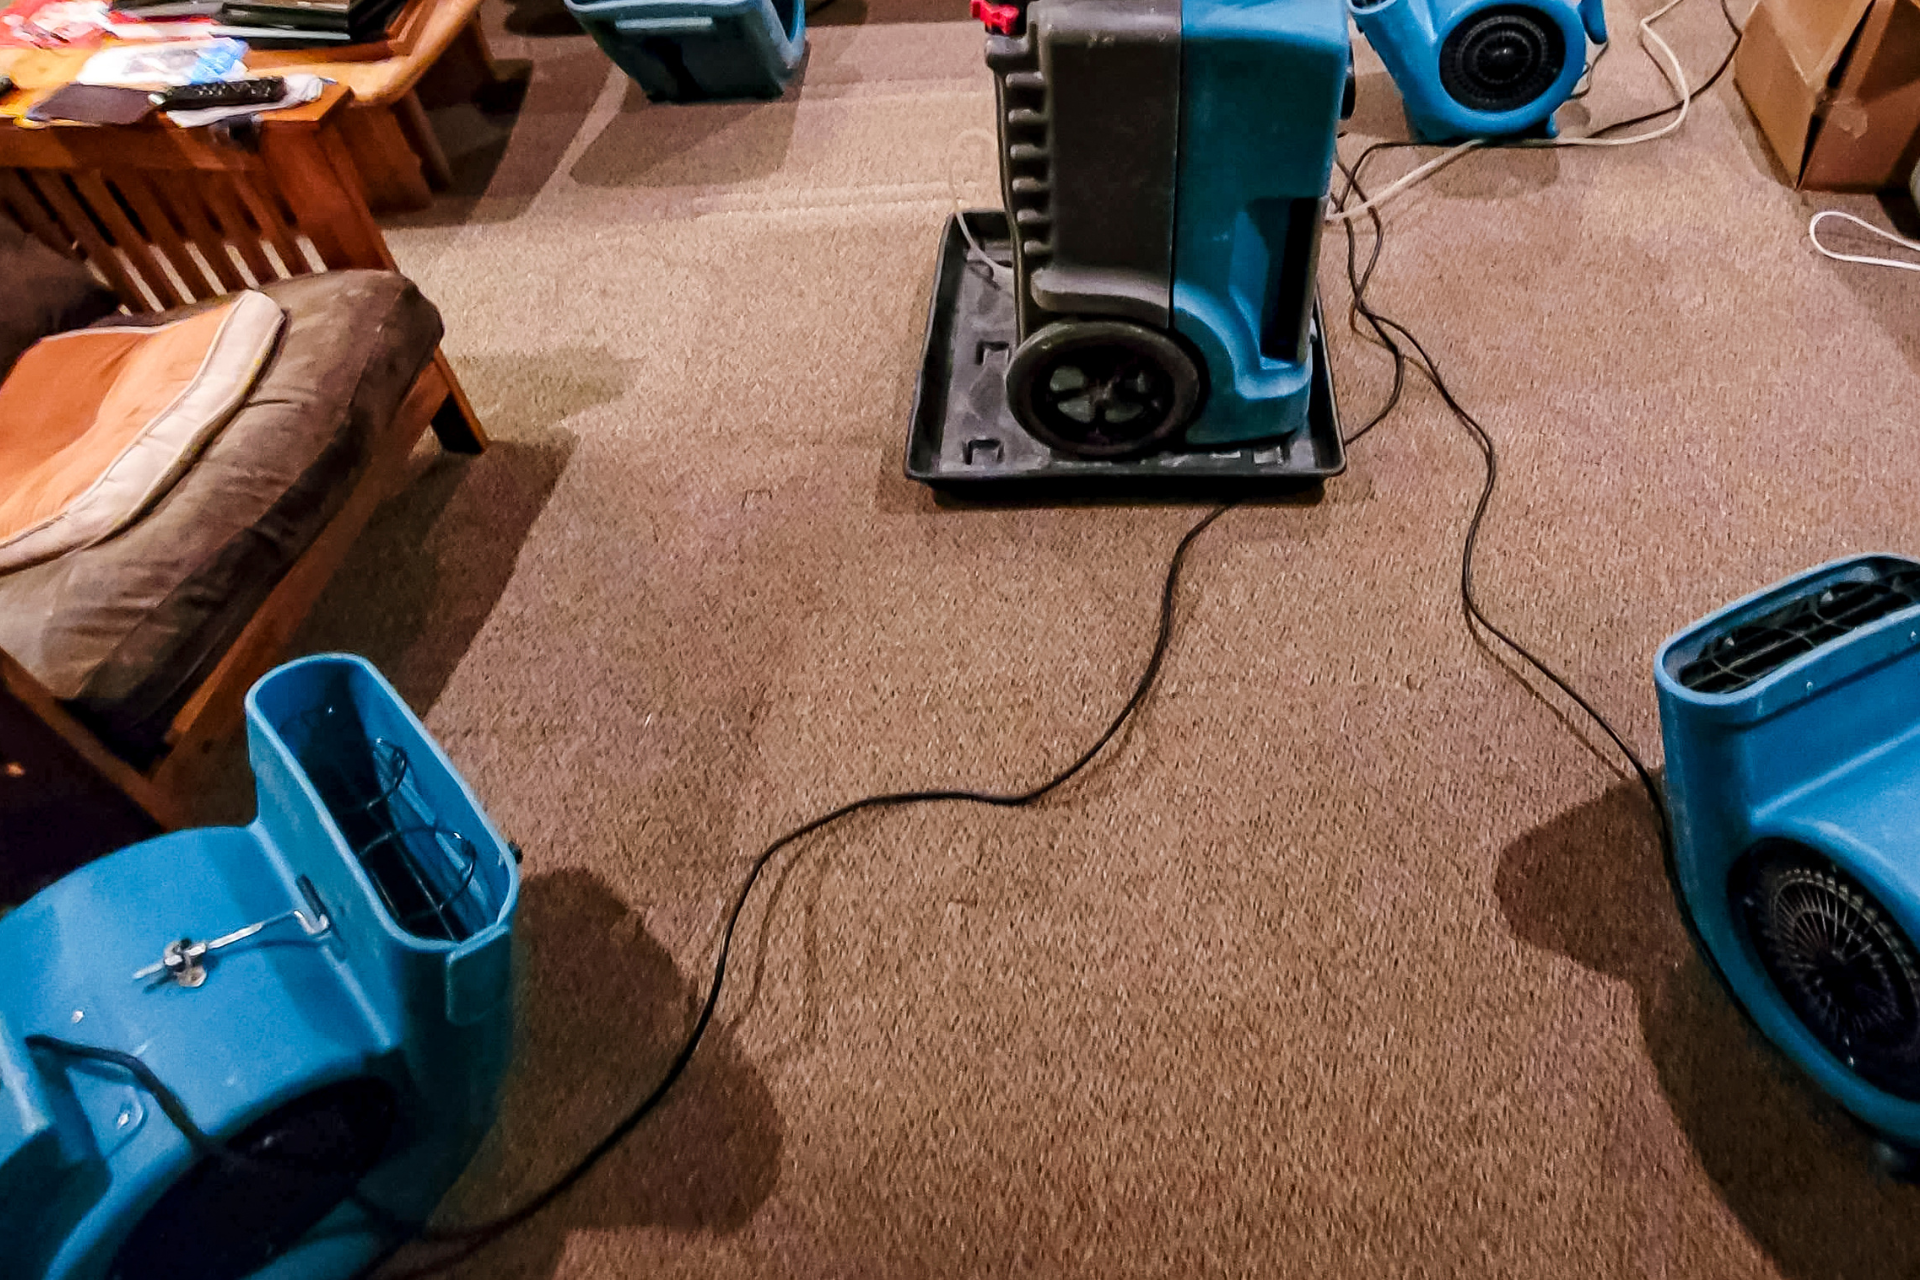
After removing the standing water, it's time to start drying out the affected area. Open windows and doors to encourage air circulation. Use fans, dehumidifiers, and air movers to speed up the drying process. Focus on drying out carpets, walls, floors, and furniture to prevent mold growth and structural damage.
Step 4: Inspect for Hidden Moisture
Even after you've dried out the visible water, there may still be hidden pockets of moisture lurking in your home. Use a moisture meter to detect any remaining moisture behind walls, under floors, and in ceilings. Address these areas promptly to prevent mold and mildew growth.
Step 5: Remove Damaged Materials
Unfortunately, some materials may be beyond repair after water damage. Discard any items that are extensively damaged, contaminated, or cannot be dried out completely. This includes rugs, padding, insulation, drywall, and furniture that may have absorbed too much water.
Step 6: Monitor the Drying Progress
Continue to monitor the drying progress in your home to ensure that all areas are adequately dried out. Consider hiring a professional water damage restoration company like Utah Flood Guys to conduct a thorough assessment and provide expert drying services.
In conclusion, dealing with water damage can be a daunting task, but with the right knowledge and tools, you can properly dry out your home and restore it to its pre-damage condition. Remember, time is of the essence when it comes to water damage, so act quickly to prevent further issues. If you're in need of professional water damage restoration services in Utah, don't hesitate to reach out to the Utah Flood Guys for expert assistance.
Stay safe, stay dry, and remember that the Utah Flood Guys have got your back in times of water damage woes!
You might also like
Utah Flood Guys Blog