Restoring Fire-Damaged Concrete: A Step-by-Step Guide
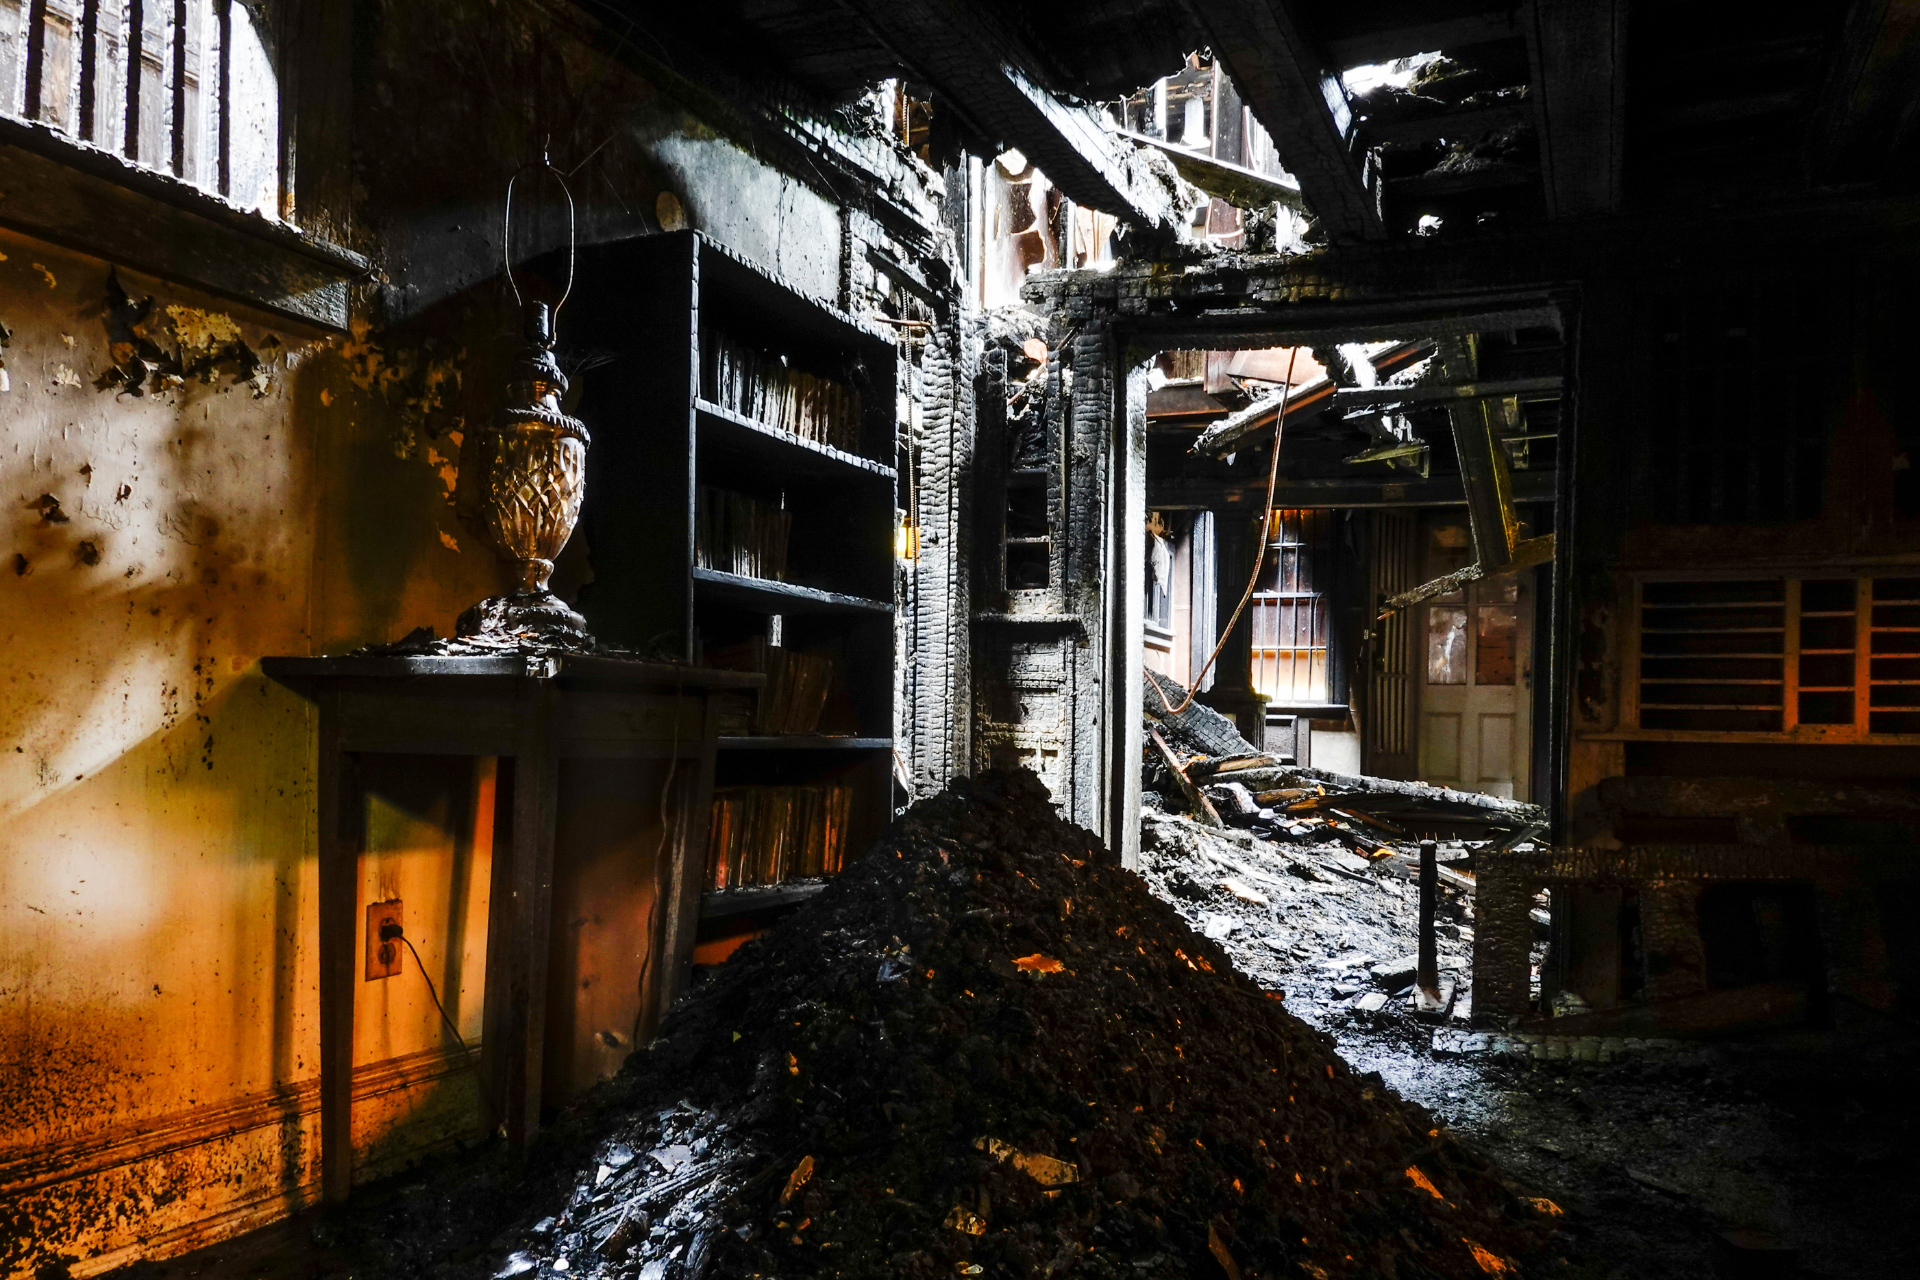
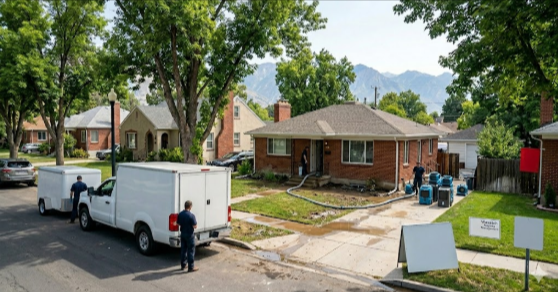
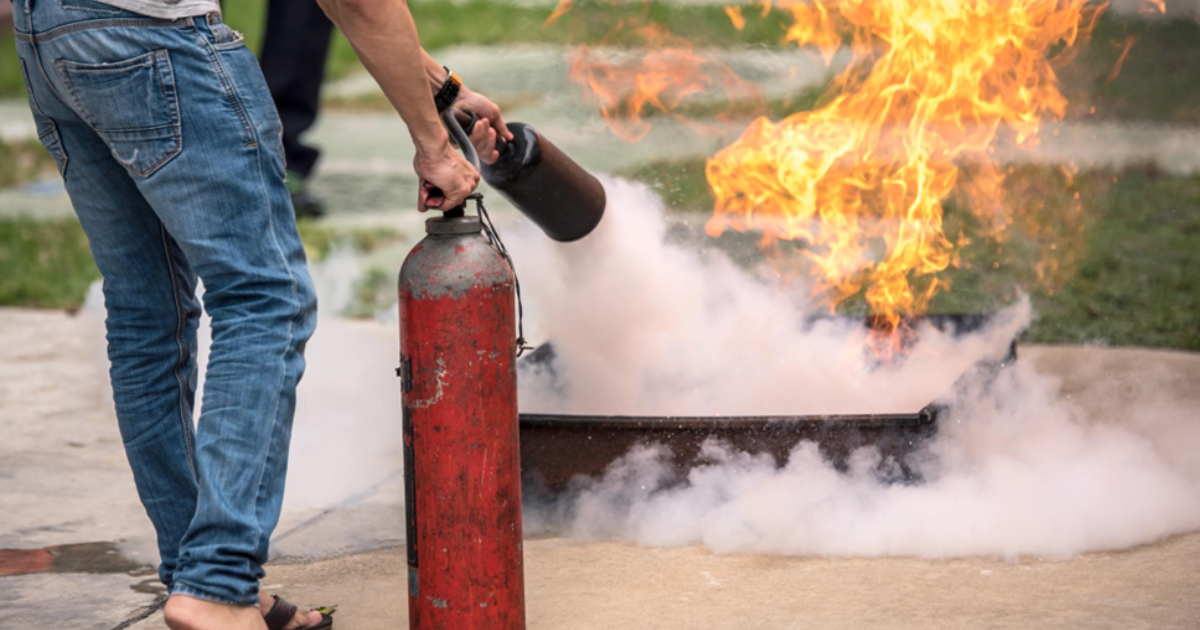
When a fire strikes, the aftermath can be overwhelming. Not only do you have to deal with smoke and soot damage, but if your property has concrete surfaces, you may find them in less than perfect condition as well. At Utah Flood Guys, we understand the challenges of post-fire restoration, and we’re here to help you every step of the way.
Step 1: Assess the Damage
Before diving into the restoration process, it’s crucial to evaluate how much damage has occurred. Check for cracks, discoloration, or any signs of structural compromise. If the concrete is largely intact but discolored or stained, you may be able to restore it more easily. However, if there are significant cracks or structural issues, it might be wise to consult a professional for an assessment.
Step 2: Gather Your Supplies
You’ll need the right tools and materials to begin the restoration. Here’s a quick list to gather:
- Safety goggles and gloves
- Heavy-duty trash bags
- A broom and dustpan
- Pressure washer or hose
- Concrete cleaner or degreaser
- Stiff-bristle brush
- Sealant (if needed)
Step 3: Clean the Area
Start by removing any debris, ash, and soot from the surface of the concrete. Use a broom and dustpan for larger pieces and a damp cloth for finer particles. Be thorough, as any lingering soot can interfere with the subsequent cleaning and sealing processes. A pressure washer can be an excellent tool here, helping to lift stubborn stains and soot that a simple scrub may not remove.
Step 4: Apply Concrete Cleaner
Once you've cleared the area, apply a concrete cleaner to the affected surfaces. Following the manufacturer’s instructions, let the cleaner sit for the recommended amount of time to break down the remaining soot and residues. After it has soaked, use a stiff-bristle brush to scrub away the grime, working in sections for the best results.
Step 5: Rinse Thoroughly
After scrubbing, rinse the area with plenty of water. If you used a pressure washer, this step may be easier and more effective. Be sure to remove all cleaning agents, as any leftover residue could affect the finish or new sealant you may apply later.
Step 6: Inspect and Repair
After cleaning and rinsing, take a closer look at the concrete. If you notice any cracks or chips, now is the time to address them. Use a concrete patching compound to fill in any damages. Follow the product instructions for drying times before moving on to the next step.
Step 7: Seal the Surface
To protect your restored concrete, applying a sealant is a wise choice. This can help prevent future stains and deterioration, ensuring your concrete surfaces remain in tip-top shape. Select a sealant designed for concrete and follow the application instructions carefully.
Conclusion
Restoring fire-damaged concrete may seem daunting, but by following these steps, you can manage the process with confidence. Remember, some damage may require professional attention, so don’t hesitate to reach out to Utah Flood Guys if you need assistance or have questions. Our team is equipped to tackle everything from minor repairs to major restoration projects, ensuring your home or business gets back to normal. Your satisfaction is our priority, so let’s work together to restore your property to its former glory!
You might also like
Utah Flood Guys Blog