Mold Removal in Your Attic: What You Need to Do
Do you suspect mold in your attic? No one wants to deal with this issue, but ignoring it can lead to serious health risks and property damage. Mold removal in your attic is a task that should be taken seriously, and we're here to guide you through the process. At Utah Flood Guys, we understand the importance of prompt and effective mold remediation to protect your home and your family.
Identifying Mold in Your Attic
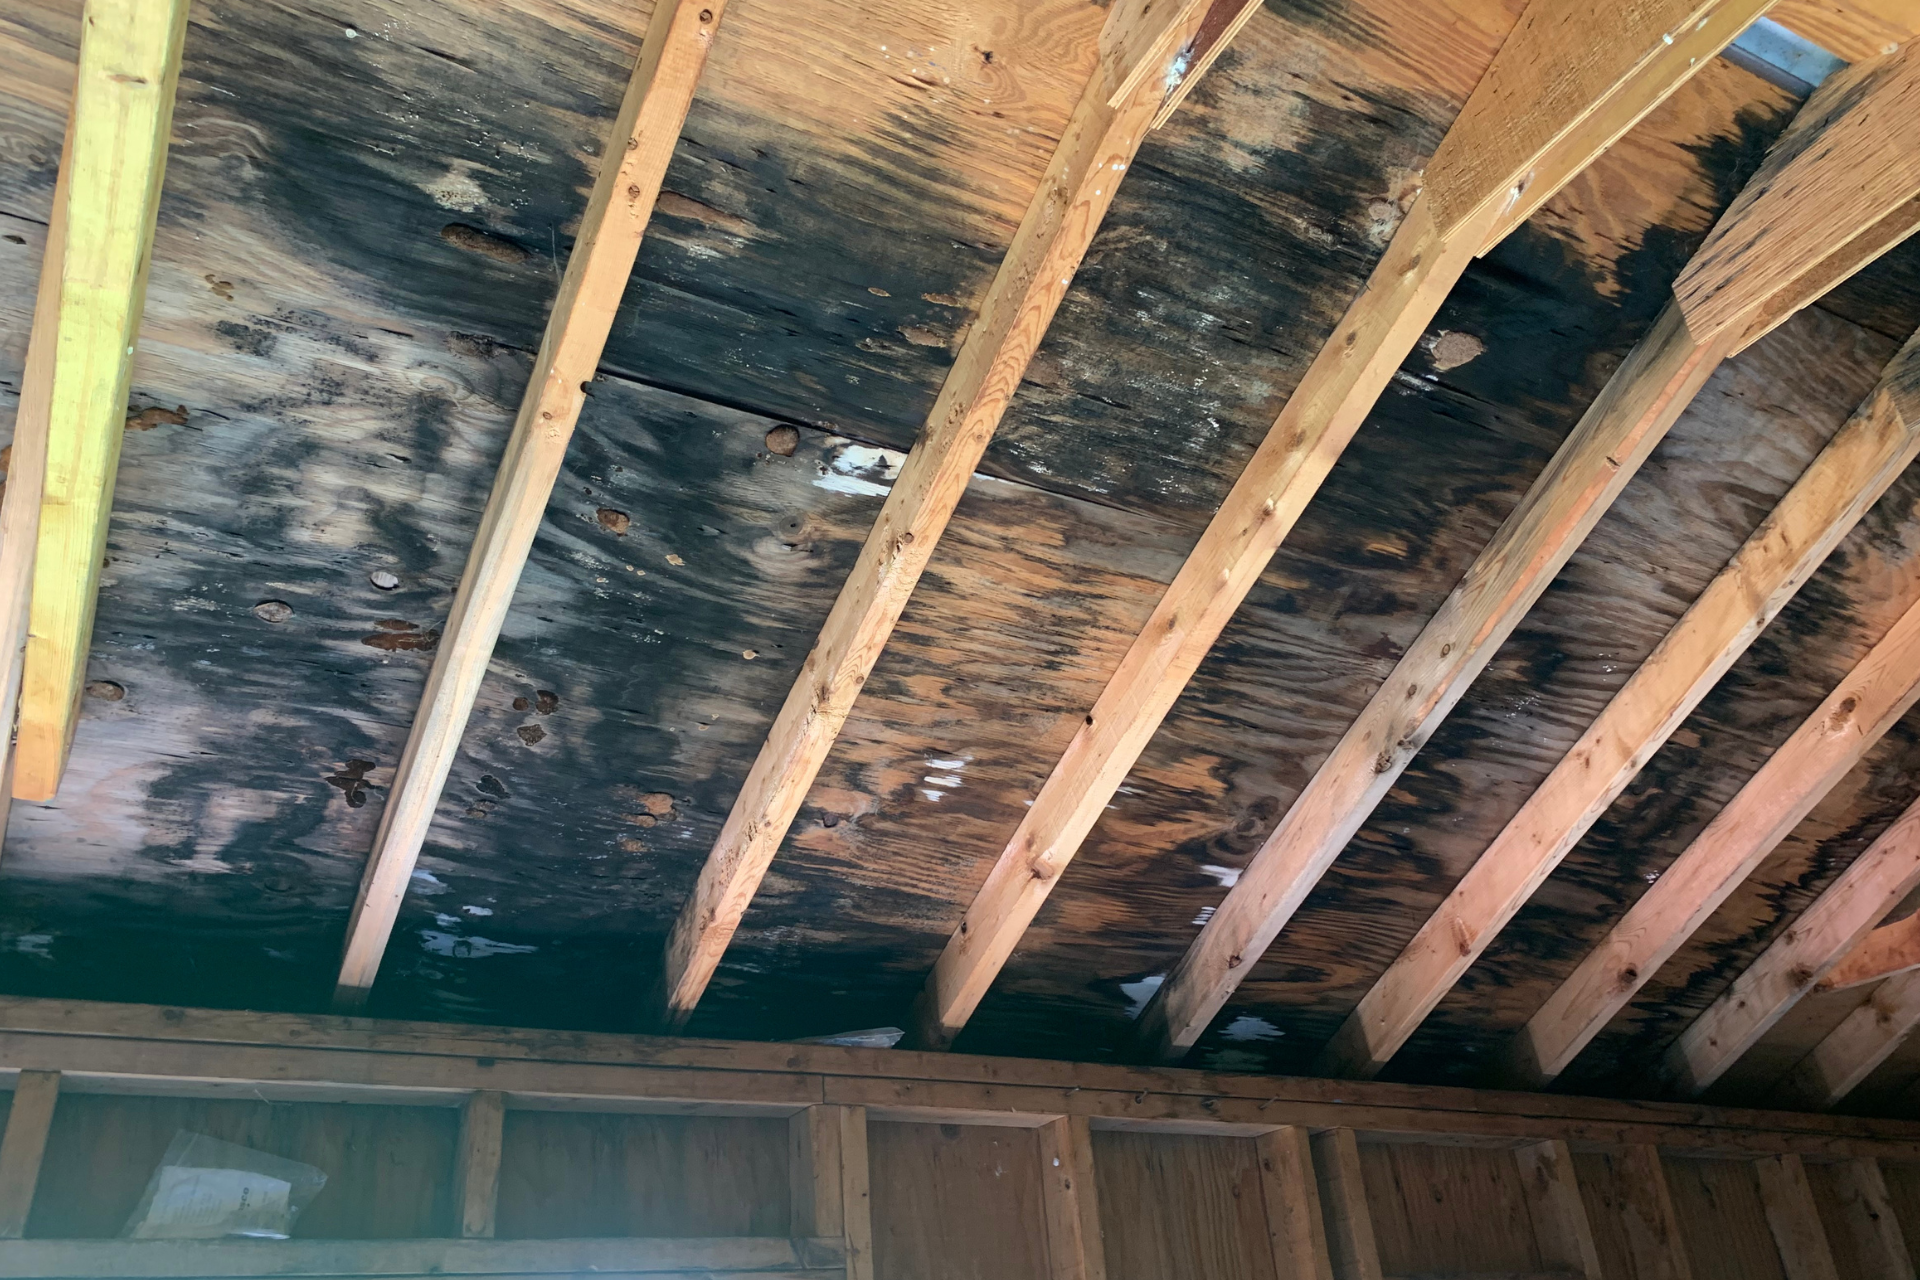
The first step in addressing mold in your attic is to confirm its presence. Common signs of mold growth include a musty odor, visible black or green patches on surfaces, water stains, or an increase in allergy symptoms among household members. If you notice any of these signs, it's crucial to investigate further to determine the extent of the mold problem.
Inspecting your attic for mold growth can be challenging due to limited visibility and accessibility. Using a flashlight and wearing protective gear, carefully examine the attic walls, ceiling, insulation, and any stored items for signs of mold. If the mold is extensive or you're unsure about the severity of the issue, it's best to seek professional help from a mold removal specialist like Utah Flood Guys.
Mold Removal Process
Once mold has been confirmed in your attic, it's essential to act quickly to prevent its spread and minimize the damage. Mold removal is a complex process that requires proper equipment, expertise, and adherence to safety guidelines. Here's what you need to do when tackling mold removal in your attic:
1. Safety First
Before starting the removal process, make sure to wear protective gear such as gloves, goggles, and a mask to avoid exposure to mold spores.
2. Containment
To prevent the mold from spreading to other areas of your home, it's crucial to contain the affected area. Close off the attic and seal any openings where mold spores can escape.
3. Removal
Depending on the extent of the mold infestation, you may need to remove contaminated materials such as insulation, drywall, or belongings. Use a HEPA vacuum and damp cloth to clean surfaces and remove mold spores effectively.
4. Cleaning and Disinfection
Thoroughly clean and disinfect the attic surfaces using mold-removal products recommended for the type of mold present. This step is crucial to eliminate any remaining mold spores and prevent future growth.
5. Ventilation
After completing the removal process, ensure proper ventilation in the attic to promote airflow and prevent moisture buildup, which can lead to mold growth.
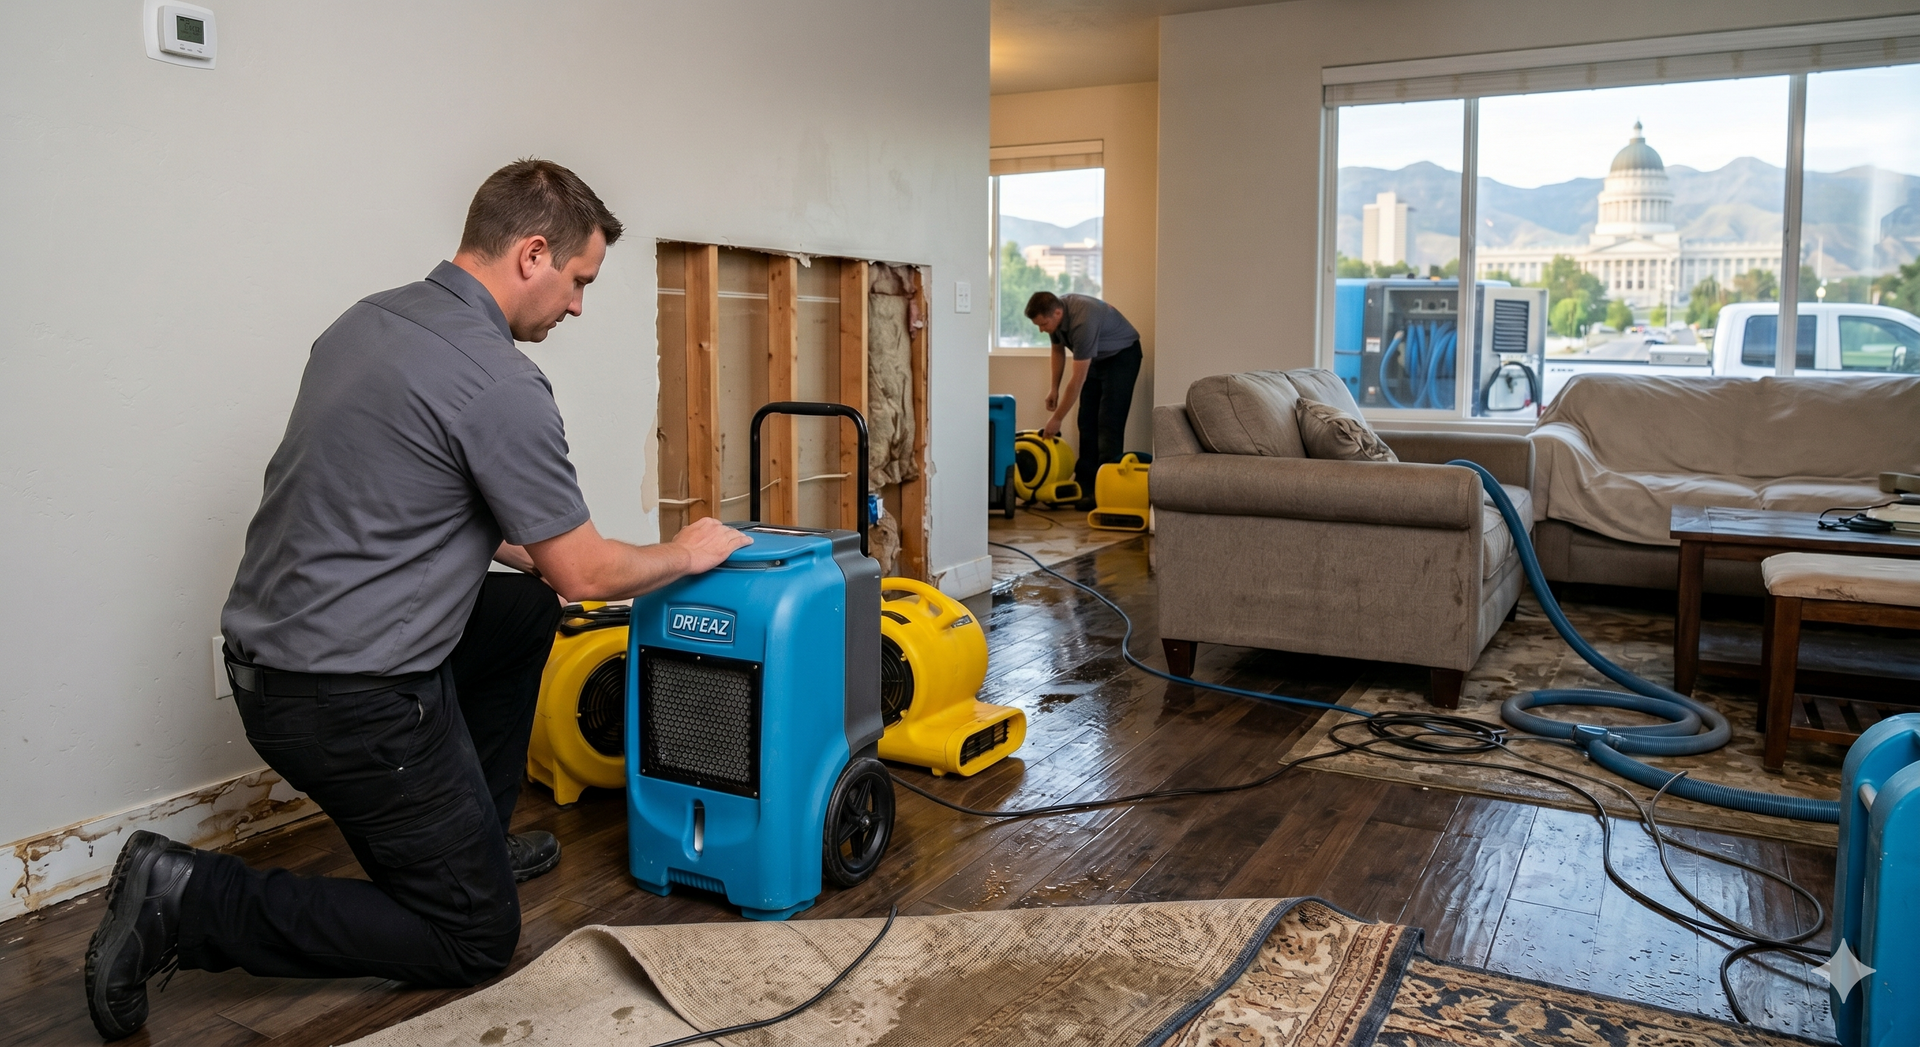
Benefits of Professional Mold Removal
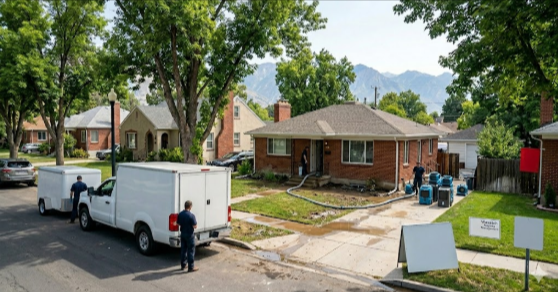
While some homeowners may attempt DIY mold removal, hiring a professional mold removal specialist like Utah Flood Guys offers several benefits. Our experienced team utilizes advanced equipment and techniques to ensure thorough mold remediation while prioritizing your safety and well-being. By entrusting the mold removal process to professionals, you can save time, prevent potential health risks, and receive expert guidance on preventing future mold growth.
Don't Let Mold Linger in Your Attic
Mold removal in your attic is a task that should be addressed promptly and effectively to protect your home and your family. By following the steps outlined above and seeking professional help when needed, you can ensure a safe and mold-free living environment. Utah Flood Guys is here to support you every step of the way in providing reliable mold removal services for residential and commercial properties in Utah. Contact us today to schedule a consultation and learn more about our mold remediation services. Remember, when it comes to mold removal, it's better to be safe than sorry!
You might also like
Utah Flood Guys Blog