After an Attic Leak: Addressing Mold Growth
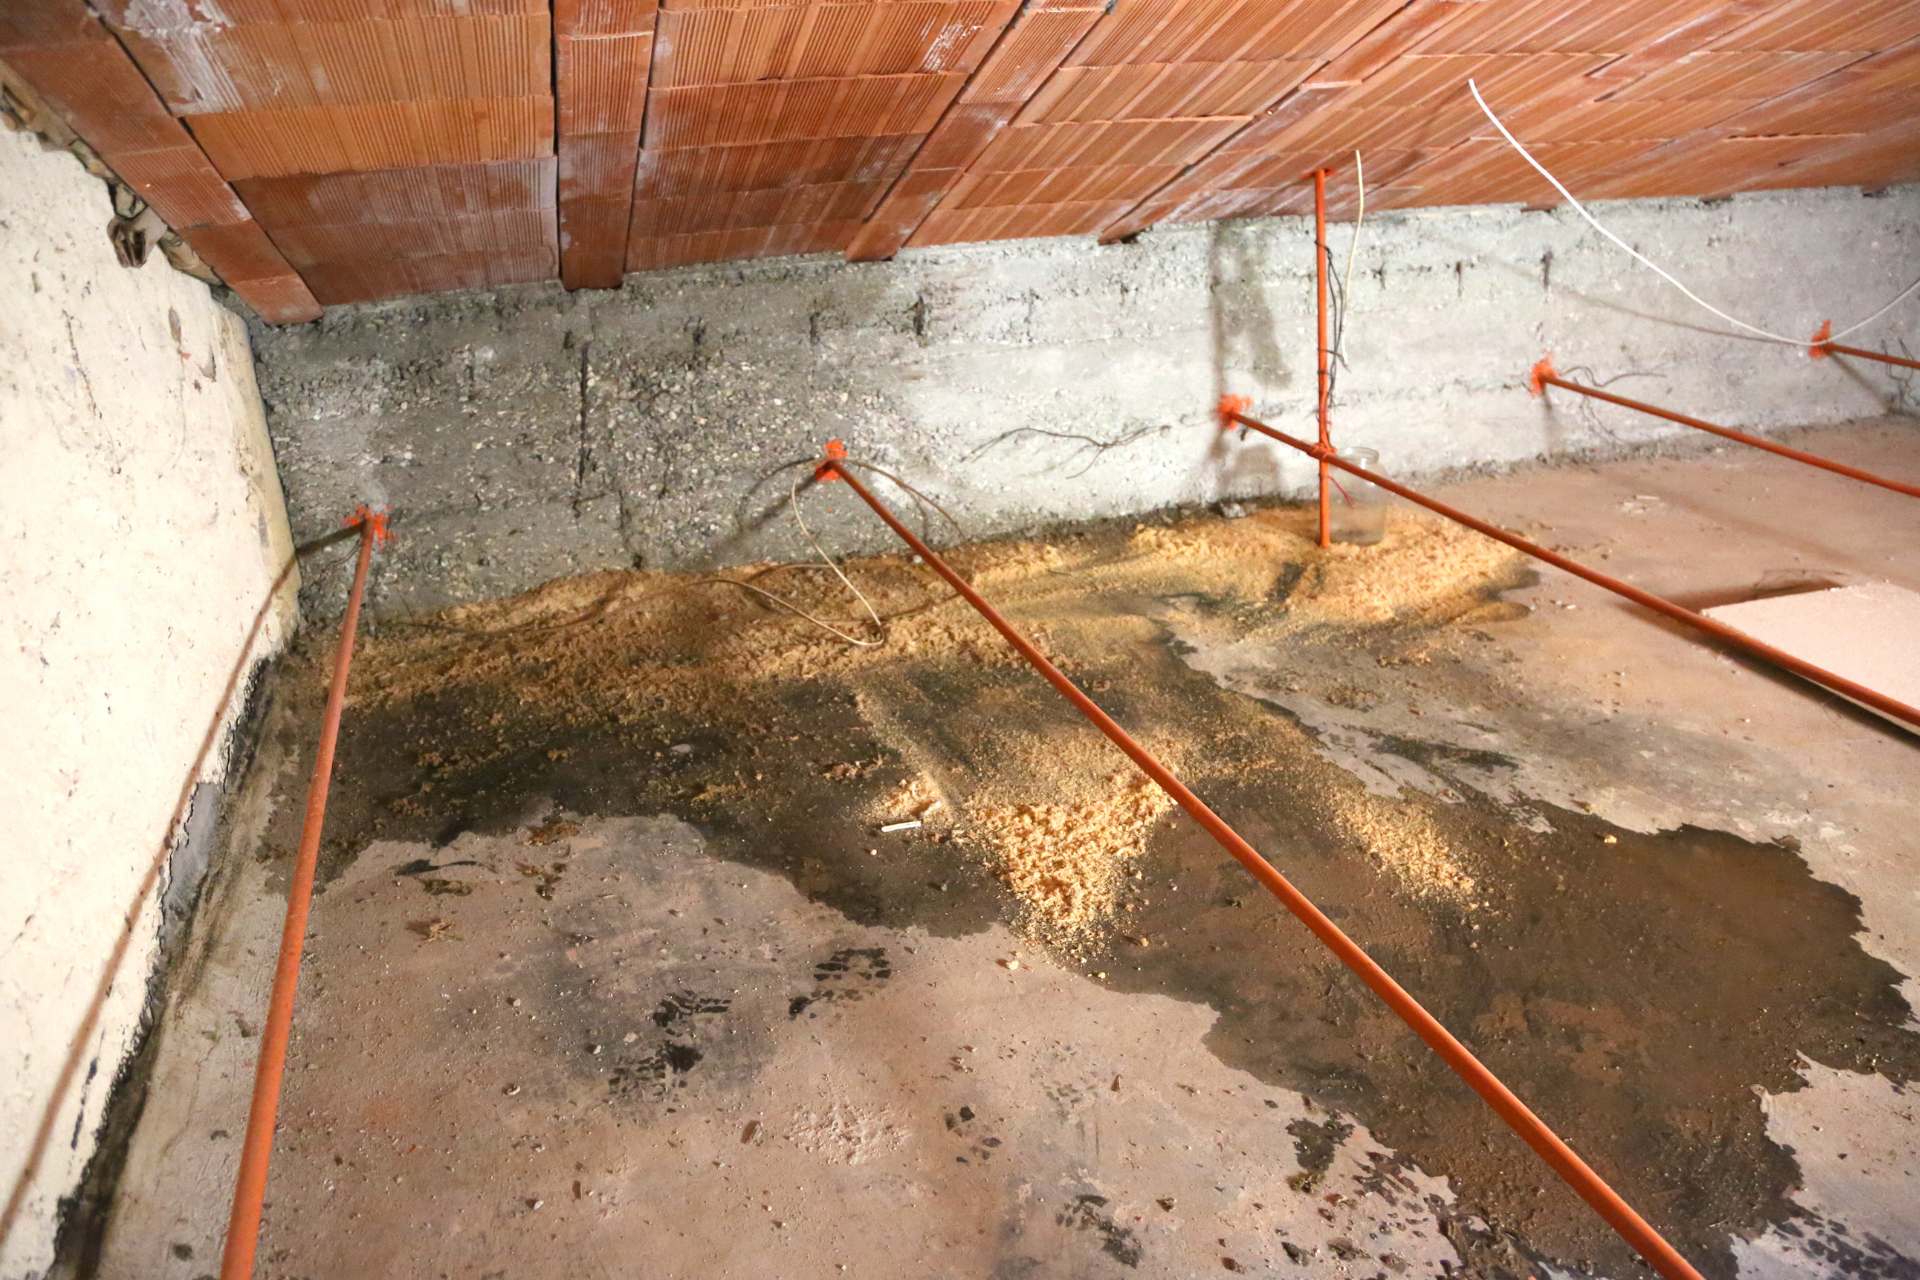
You may not think about your attic often, but it plays a crucial role in the structural integrity of your home. However, when water penetrates the attic space through a leak in the roof or a burst pipe, it can lead to serious consequences, one of which is mold growth. Mold thrives in damp, dark environments, making your attic an ideal breeding ground if left unaddressed.
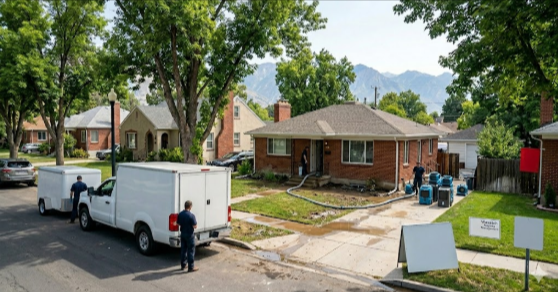
Utah Flood Guys, your go-to restoration company in Utah, is here to shed light on the importance of addressing mold growth after an attic leak. With our expertise in water damage restoration and mold removal, we understand the risks associated with mold infestation and are equipped to handle the situation effectively.
Identifying the Signs of Mold Growth
Mold growth in your attic may not always be visible at first glance, but there are certain signs to look out for. Musty odors, discolored spots on walls or ceilings, peeling paint, or an increase in allergy symptoms among household members can all indicate the presence of mold. If you suspect mold growth in your attic following a water leak, it is crucial to act swiftly to prevent further damage and potential health risks.
The Dangers of Mold Infestation
Mold is not just unsightly; it can also pose serious health risks to you and your family. Exposure to mold spores can trigger allergies, asthma attacks, respiratory problems, and other health issues. Children, the elderly, and individuals with compromised immune systems are particularly vulnerable to the negative effects of mold. Addressing mold growth promptly is essential to safeguarding your family's health and well-being.
Steps to Take After an Attic Leak
If you discover mold growth in your attic after a water leak, it is essential to take immediate action to prevent its spread and minimize the damage. Here are the steps you can take to address mold growth effectively:
1. Safety First
Before entering the affected area, ensure that you wear protective gear such as gloves, a mask, and goggles to avoid exposure to mold spores.
2. Identify and Repair the Source of the Leak
Locate and fix the source of the water leak to prevent further moisture from entering the attic. This may involve repairing a damaged roof, fixing a broken pipe, or improving ventilation in the attic space.
3. Contain the Mold
Seal off the affected area to prevent the spread of mold spores to other parts of your home. Use plastic sheeting and tape to create a barrier between the contaminated area and the rest of the house.
4. Remove Mold-Infested Materials
Discard porous materials such as insulation, drywall, and carpets that are heavily contaminated with mold. These items are difficult to clean thoroughly and may need to be replaced to prevent mold regrowth.
5. Clean and Disinfect
Thoroughly clean the affected surfaces with a mixture of water and detergent to remove mold spores. Once the area is cleaned, use a disinfectant to kill any remaining mold spores and inhibit their growth.
6. Monitor for Recurrence
After addressing the mold growth in your attic, monitor the area regularly to ensure that it does not reoccur. Maintain proper ventilation and insulation in the attic to prevent future water damage and mold growth.
Seek Professional Help from Utah Flood Guys
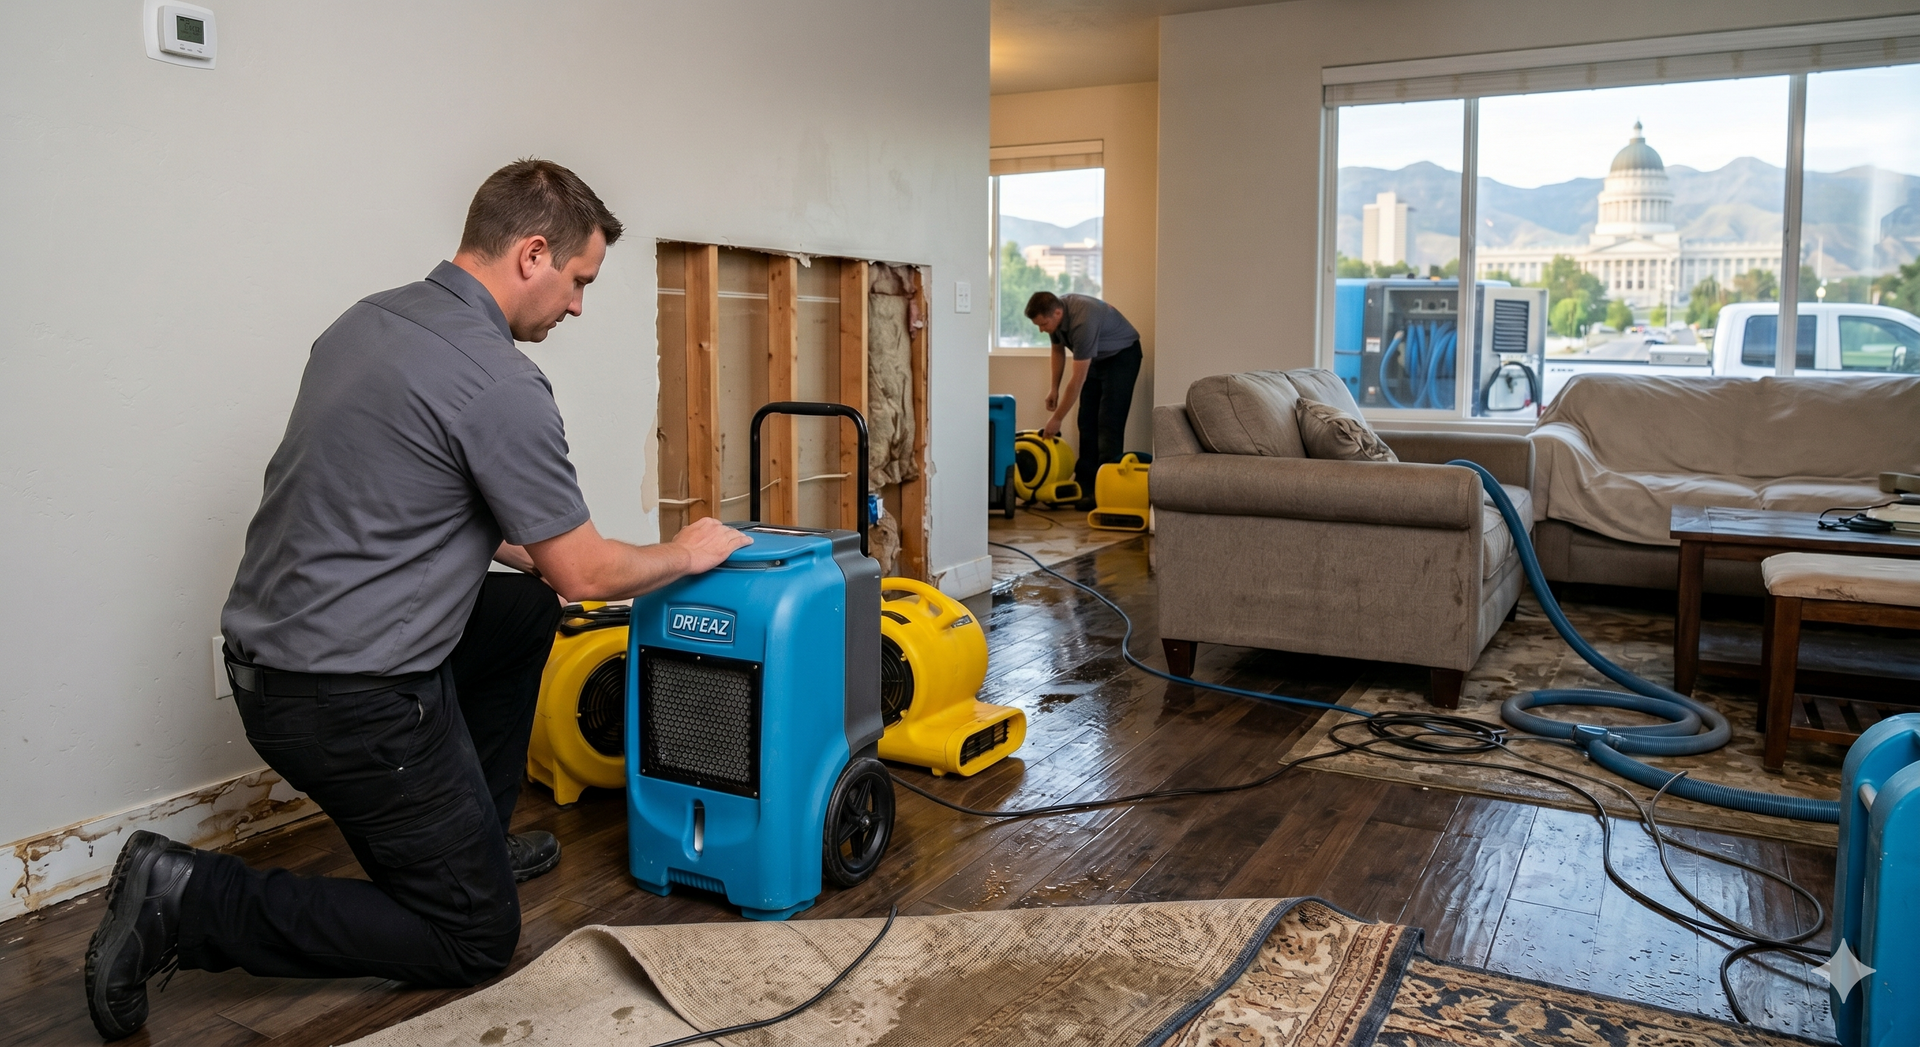
Addressing mold growth after an attic leak requires expertise and specialized equipment to ensure thorough removal and prevention of recurrence. At Utah Flood Guys, our team of professionals is trained to handle mold remediation effectively, using industry-standard techniques and tools to restore your attic to a safe and healthy condition.
If you are dealing with mold growth in your attic following a water leak, contact Utah Flood Guys today for prompt and reliable restoration services. Don't wait until the problem escalates – let our experienced team take care of the mold so you can enjoy a clean and healthy home once again.
You might also like
Utah Flood Guys Blog